
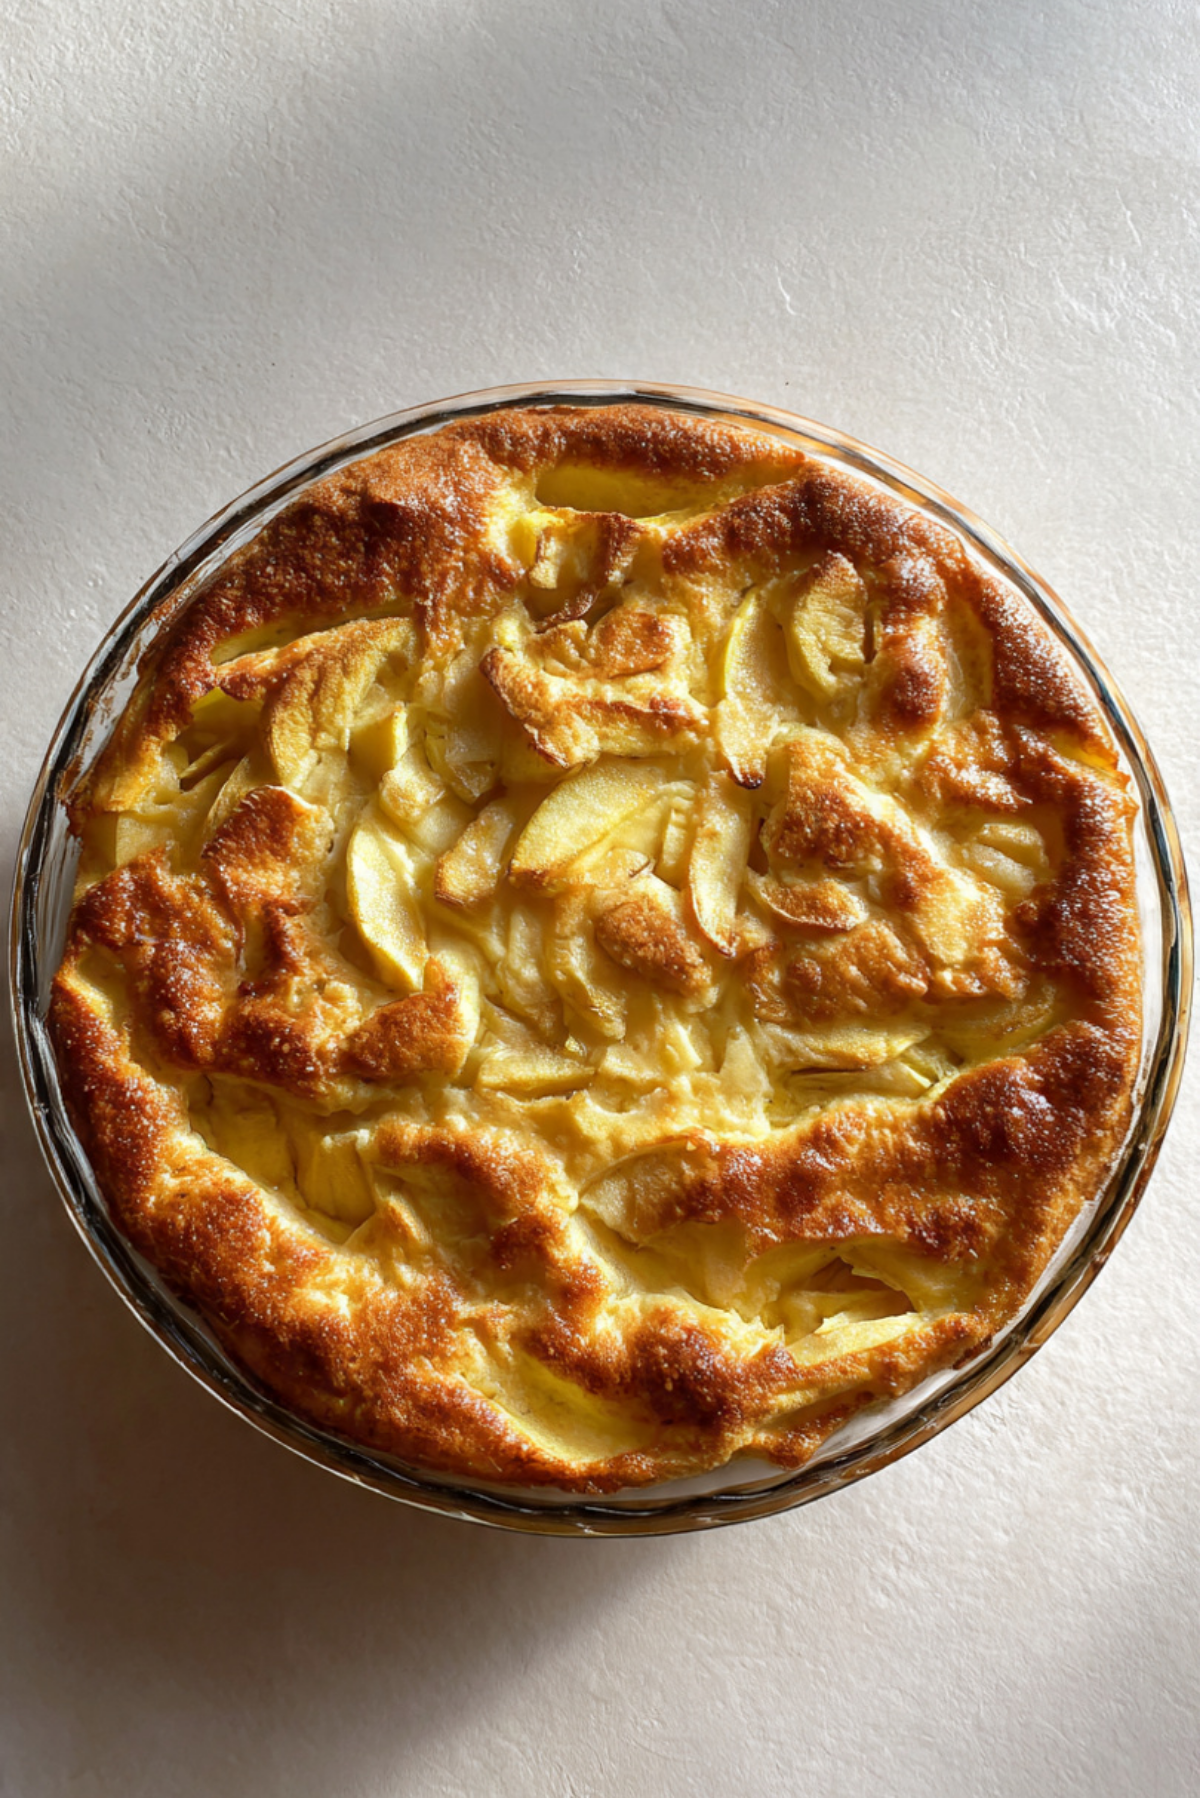
There is something incredibly comforting about the scent of apples baking in the oven. That sweet, warm aroma of cinnamon drifting through the kitchen feels like a hug you did not know you needed. This Crustless Apple Pie keeps all the cozy flavor of the classic dessert but skips the pastry, letting the tender apples and soft custard like filling truly shine. Trust me, you’re going to love this. It is simple, wholesome, and honestly a little magical.
The Cozy Charm of This Effortless Apple Dessert
What makes this pie so special is its simplicity. Without a crust to roll or chill, you can focus entirely on the apples and the delicate batter that surrounds them. As it bakes, the edges turn lightly golden while the center stays soft and tender. The apples soften into sweet, cinnamon kissed layers that almost melt into the custard.
And now let’s talk about where this beautiful idea comes from.
A Humble Twist on a Timeless Classic
Apple pie has deep roots in American kitchens, though its origins trace back to European settlers who brought apple desserts with them. Over time, it became a symbol of home and comfort.
The crustless version likely evolved from practical home baking, when someone wanted the flavor of pie without the extra work. It is similar to European apple cakes and French clafoutis, where fruit is baked in a light batter. This version keeps things rustic, simple, and incredibly satisfying.
Why This Recipe Never Fails
Before we head into the kitchen, let me tell you why this one deserves a spot in your regular rotation.
Versatile: Serve it warm with whipped cream, chilled for breakfast, or as an afternoon snack.
Budget-Friendly: Made with pantry staples and fresh apples, nothing fancy required.
Quick and Easy: No dough rolling, no blind baking, just mix and pour.
Customizable: Adjust the spices or mix different apple varieties.
Crowd-Pleasing: The familiar apple cinnamon flavor wins everyone over.
Make-Ahead Friendly: It stores beautifully and reheats well.
Great for Leftovers: Enjoy slices cold straight from the fridge or warmed gently.
Now that you are tempted, let’s make sure you get perfect results.
Baker’s Secrets for the Best Texture
A few small details make all the difference here.
- Use firm apples that hold their shape during baking.
- Slice the apples evenly so they cook at the same rate.
- Do not overmix the batter, stir just until smooth.
- Let the pie cool slightly before slicing so it sets properly.
And now, let’s gather the tools.
Kitchen Essentials for Smooth Baking
Having everything ready makes the process relaxed and enjoyable.
Mixing Bowls: One for the batter and one for tossing the apples.
Whisk: Helps create a smooth lump free batter.
Measuring Cups and Spoons: Accuracy keeps texture consistent.
9 Inch Pie Dish: A glass or ceramic dish works perfectly.
With tools ready, let’s talk ingredients.
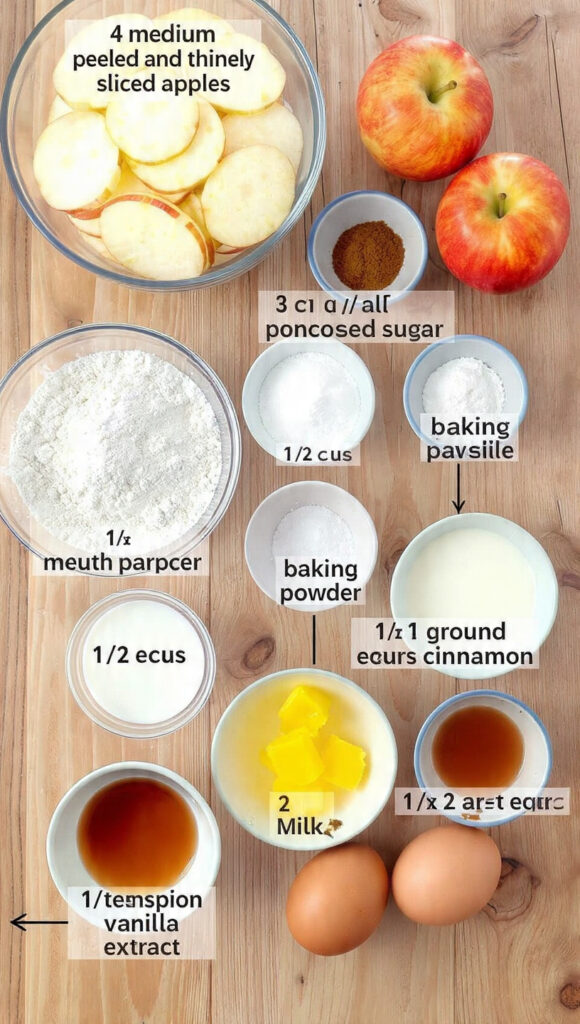
Ingredients You Will Need For This Recipe
Each ingredient works together to create that soft, lightly sweet apple filled dessert.
- Apples: 4 medium apples, peeled and thinly sliced, about 4 cups, provide natural sweetness and tender texture.
- All Purpose Flour: 1 cup, forms the base of the batter.
- Granulated Sugar: 3/4 cup, adds sweetness and helps with browning.
- Baking Powder: 1 teaspoon, gives gentle lift.
- Salt: 1/4 teaspoon, enhances overall flavor.
- Ground Cinnamon: 1 teaspoon, adds warmth and classic spice.
- Milk: 1 cup, creates a smooth custard like consistency.
- Large Eggs: 2, bind everything together.
- Unsalted Butter: 1/4 cup, melted, adds richness.
- Vanilla Extract: 1 teaspoon, deepens the aroma and sweetness.
Now that the ingredients are clear, let’s explore some flexible swaps.
Simple Substitutions If Needed
Baking should feel approachable and adaptable.
Milk: Almond milk or oat milk can be used.
Butter: Use melted coconut oil for a dairy free version.
Granulated Sugar: Light brown sugar adds deeper caramel notes.
And now, let’s spotlight what truly makes this shine.
The Stars of the Show
Apples: Choose varieties like Granny Smith or Honeycrisp for a balance of tartness and sweetness.
Ground Cinnamon: Just a teaspoon transforms the entire flavor profile into something warm and nostalgic.
Now comes the fun part.
Let’s Bake This Beauty Step by Step
Take a deep breath, preheat that oven, and let’s do this together.
- Preheat Your Equipment: Preheat your oven to 350°F and lightly grease a 9 inch pie dish.
- Combine Ingredients: In a bowl, whisk flour, sugar, baking powder, salt, and cinnamon. In another bowl, whisk milk, eggs, melted butter, and vanilla extract until smooth. Gradually combine wet and dry ingredients to form a smooth batter.
- Prepare Your Cooking Vessel: Arrange the sliced apples evenly in the greased pie dish.
- Assemble the Dish: Pour the batter evenly over the apples, ensuring all slices are coated.
- Cook to Perfection: Bake for 45 to 50 minutes until the top is golden and a knife inserted in the center comes out clean.
- Finishing Touches: Allow the pie to cool for at least 15 minutes before slicing.
- Serve and Enjoy: Serve warm or at room temperature with a dusting of powdered sugar if desired.
Texture and Flavor That Feels Like Home
As it bakes, the batter rises gently around the apples, creating a soft, almost custard like interior. The edges become lightly golden and slightly firm, giving a subtle contrast to the tender center. The cinnamon infuses the apples while the vanilla rounds out the sweetness. Every bite feels warm, fragrant, and comforting.
Extra Baking Tips for Perfect Results
A few more helpful reminders before you begin.
- Use a mix of sweet and tart apples for balanced flavor.
- Let the pie rest before cutting to avoid a runny center.
- If the top browns too quickly, loosely cover with foil.
Common Mistakes and How to Avoid Them
Even simple recipes can trip you up.
- Using overly soft apples can lead to mushy texture, choose firm varieties.
- Overbaking can dry it out, check at 45 minutes.
- Skipping greasing may cause sticking.
Nutrition Snapshot
Servings: 8 slices
Calories per serving: 220
Note: These are approximate values.
Time Breakdown for Easy Planning
Prep Time: 20 minutes
Cook Time: 50 minutes
Total Time: 70 minutes
Make Ahead and Storage Guide
This pie can be baked a day in advance and stored covered in the refrigerator. Reheat slices gently in the oven at 300°F for 10 minutes or microwave briefly. It also freezes well for up to 2 months, tightly wrapped.
Serving Suggestions to Make It Special
Serve with a dollop of whipped cream or a scoop of vanilla ice cream. A drizzle of caramel sauce takes it to another level. It also pairs beautifully with hot coffee or tea.
Creative Ways to Enjoy Leftovers
Cube leftover slices and layer them with yogurt for a breakfast parfait. Warm and top with granola for added crunch. You can even turn slices into a quick bread pudding style dessert.
Additional Tips for Success
Measure flour correctly by spooning and leveling. Taste your apples before baking and adjust sugar slightly if needed. Let me tell you, patience while cooling is worth every bite.
Make It Look Stunning
Dust lightly with powdered sugar before serving. Arrange thin apple slices decoratively on top before baking for a beautiful finish. Serve on a rustic wooden board for that cozy feel.
Delicious Variations to Try
Add chopped walnuts for crunch. Stir in a pinch of nutmeg for extra spice. Mix in raisins for added sweetness. Swap part of the flour with almond flour for subtle nuttiness.
FAQ’s
Q1: Can I make this gluten free?
Yes, use a 1 to 1 gluten free flour blend.
Q2: What apples work best?
Firm apples like Granny Smith or Honeycrisp are ideal.
Q3: Can I reduce the sugar?
Yes, slightly reduce if your apples are very sweet.
Q4: How do I know it is done?
A knife inserted in the center should come out clean.
Q5: Can I prepare it ahead of time?
Yes, bake it a day in advance and store refrigerated.
Q6: Should it be refrigerated?
Yes, after cooling, store in the fridge.
Q7: Can I freeze it?
Yes, wrap tightly and freeze up to 2 months.
Q8: Why is my pie soggy?
It may need more baking time or firmer apples.
Q9: Can I add other spices?
Absolutely, nutmeg or allspice works well.
Q10: Is it served warm or cold?
Both ways are delicious, choose your preference.
Conclusion
This Crustless Apple Pie proves that you do not need a complicated crust to create something truly special. With tender apples, warm cinnamon, and a soft golden top, it delivers comfort in every bite. This one’s a total game changer when you want classic flavor with less effort. I hope it fills your kitchen with warmth and your table with smiles.
Print
Crustless Apple Pie
- Prep Time: 20 minutes
- Cook Time: 50 minutes
- Total Time: 70 minutes
- Yield: 8 slices
- Category: Dessert
- Method: Baking
- Cuisine: American
- Diet: Vegetarian
Description
A soft and comforting crustless apple pie filled with tender cinnamon spiced apples baked in a light custard style batter. This easy dessert skips the pastry but keeps all the classic flavor you love.
Ingredients
- 4 medium apples, peeled and thinly sliced, about 4 cups
- 1 cup all purpose flour
- 3/4 cup granulated sugar
- 1 teaspoon baking powder
- 1/4 teaspoon salt
- 1 teaspoon ground cinnamon
- 1 cup milk
- 2 large eggs
- 1/4 cup unsalted butter, melted
- 1 teaspoon vanilla extract
Instructions
- Preheat oven to 350°F and lightly grease a 9 inch pie dish.
- In a bowl, whisk together flour, sugar, baking powder, salt, and cinnamon.
- In a separate bowl, whisk milk, eggs, melted butter, and vanilla extract until smooth.
- Gradually combine the wet and dry ingredients, stirring just until a smooth batter forms.
- Arrange the sliced apples evenly in the prepared pie dish.
- Pour the batter evenly over the apples, ensuring all slices are coated.
- Bake for 45 to 50 minutes until the top is golden and a knife inserted in the center comes out clean.
- Allow the pie to cool for at least 15 minutes before slicing and serving.
Notes
- Use firm apples like Granny Smith or Honeycrisp for best texture.
- If the top browns too quickly, loosely cover with foil during the last 10 minutes of baking.
- Let the pie rest before slicing to help it set properly.
Nutrition
- Serving Size: 1 slice
- Calories: 220
- Sugar: 24g
- Sodium: 150mg
- Fat: 7g
- Saturated Fat: 4g
- Unsaturated Fat: 2g
- Trans Fat: 0g
- Carbohydrates: 36g
- Fiber: 2g
- Protein: 4g
- Cholesterol: 65mg
… [Trackback]
[…] Find More Information here to that Topic: cookingflash.com/crustless-apple-pie/ […]