
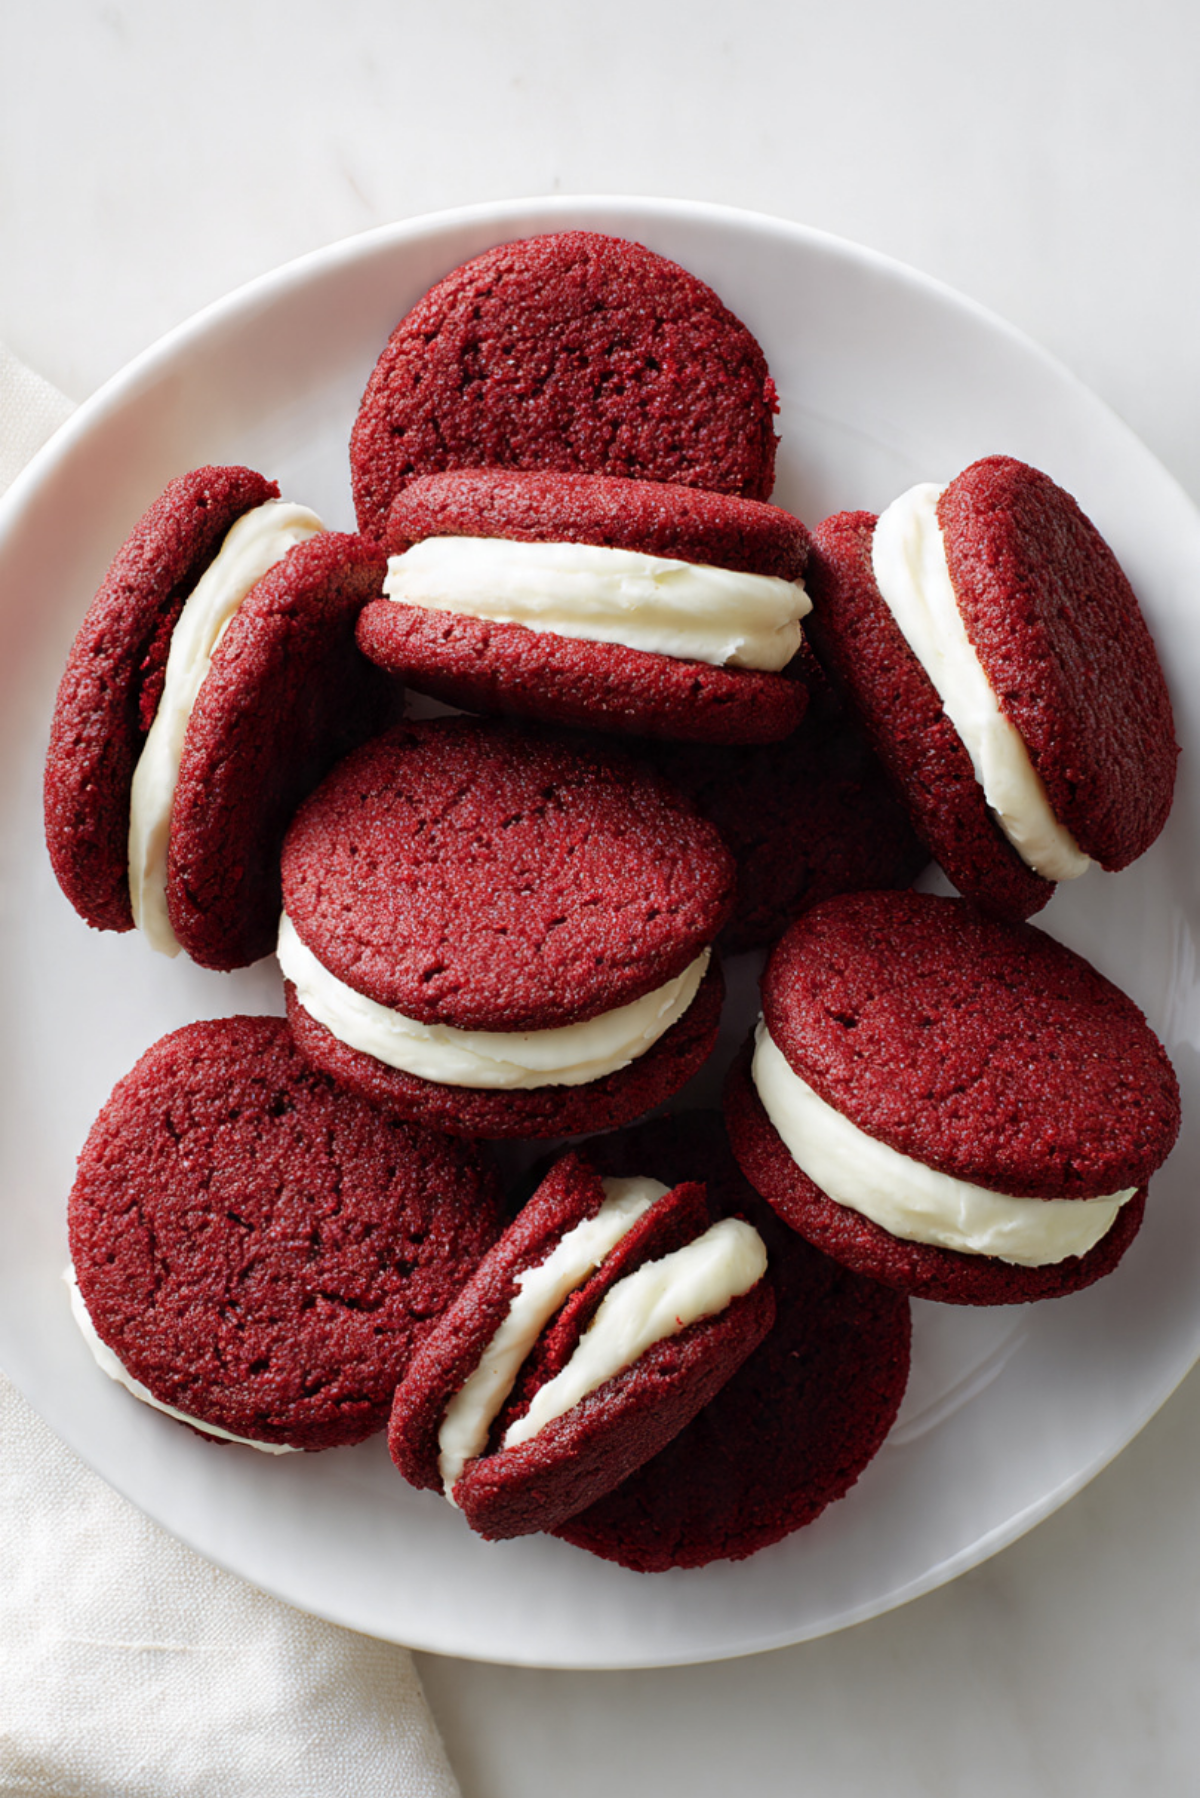
There is something about biting into a soft, vibrant red cookie with a creamy center that just feels like a little celebration. The first time I made these, the kitchen smelled faintly of cocoa and vanilla, and that deep red color made me smile before I even took a bite. Then came the cream cheese filling, smooth and slightly tangy, hugging the tender cookie layers. Trust me, you’re going to love this. This one’s a total game changer when you want something bakery style but homemade with heart.
Why These Cookies Steal the Show Every Single Time
It is not just about the color, even though that rich red tone is stunning on a dessert table. It is the way the soft cocoa flavored cookies contrast with the cool, creamy filling. They feel festive, a little nostalgic, and completely irresistible. Whether you serve them at a holiday gathering, a birthday party, or just because it is Tuesday and you deserve something sweet, they always disappear fast.
A Little Backstory Behind the Classic Red Velvet Flavor
Red velvet has roots in classic American baking, especially in the South, where cocoa based cakes with a subtle tang became popular long before modern food coloring made them so boldly red. Originally, a bit of cocoa combined with acidic ingredients created a slight reddish hue. Over time, that color became more pronounced, and the flavor profile, lightly chocolatey with a hint of tang, became iconic. Turning that classic cake flavor into sandwich cookies brings all that charm into a handheld treat that feels both old fashioned and fresh.
Why You Can Count on This Recipe Every Time
Before we dive into mixing bowls and cookie sheets, let me tell you why this one deserves a permanent spot in your baking rotation.
Versatile: These cookies fit holidays, bake sales, or cozy nights in. Dress them up with sprinkles or keep them simple and elegant.
Budget-Friendly: Most ingredients are pantry staples, so you are not hunting for anything fancy or expensive.
Quick and Easy: The dough comes together in minutes, and the baking time is short, which means you get results fast.
Customizable: You can adjust the filling thickness or even add a flavor twist like a hint of citrus zest.
Crowd-Pleasing: That soft texture and creamy center make them universally loved, even by picky eaters.
Make-Ahead Friendly: You can bake the cookies in advance and fill them later, which is perfect for busy weeks.
Great for Leftovers: If you somehow have extras, they store beautifully and taste even better the next day.
Pro Tips for Bakery Worthy Results
A few small details make a big difference here.
- Use room temperature butter and cream cheese so everything blends smoothly.
- Do not overmix once you add the flour, which keeps the cookies tender.
- Chill the dough briefly if it feels too soft, especially in a warm kitchen.
- Let the cookies cool completely before filling, or the cream will melt.
Kitchen Tools That Make the Process Smooth
Before you start, gather your tools so the process feels calm and organized.
Mixing Bowls: You will need at least two, one for dry ingredients and one for wet.
Hand Mixer or Stand Mixer: This helps cream the butter and sugar until light and fluffy.
Baking Sheets: Line them with parchment paper for even baking and easy cleanup.
Cooling Rack: Essential for cooling the cookies completely before assembling.
Spatula: Perfect for spreading or piping the cream cheese filling.
Ingredients That Build That Signature Flavor
Now let’s talk about what goes into these beauties and why each ingredient matters. Together, they create that soft texture and balanced flavor.
- All Purpose Flour: 2 cups, gives structure and keeps the cookies soft yet sturdy enough to sandwich.
- Unsweetened Cocoa Powder: 2 tablespoons, adds a subtle chocolate note without overpowering.
- Baking Soda: 1 teaspoon, helps the cookies rise and stay tender.
- Salt: 1/2 teaspoon, balances sweetness and enhances flavor.
- Unsalted Butter: 1/2 cup, softened, creates richness and a soft crumb.
- Granulated Sugar: 1 cup, sweetens and helps with that slightly crisp edge.
- Large Eggs: 2, at room temperature, provide structure and moisture.
- Vanilla Extract: 1 teaspoon, rounds out the cocoa flavor.
- Red Food Coloring: 1 tablespoon, gives the classic vibrant red color.
- White Vinegar: 1 teaspoon, reacts with the cocoa and baking soda for tenderness.
- Cream Cheese: 8 ounces, softened, forms the tangy filling base.
- Powdered Sugar: 2 cups, sweetens and thickens the filling.
Easy Swaps If You Need Them
Sometimes you work with what you have, and that is perfectly fine.
All Purpose Flour: Use a good quality gluten free baking blend if needed.
Unsalted Butter: Salted butter works, just reduce the added salt slightly.
Cream Cheese: Mascarpone can create a milder, creamier filling.
Red Food Coloring: Gel coloring works well and often requires less quantity.
Spotlight on the Stars of the Show
Some ingredients truly define these cookies.
Cocoa Powder: It brings that subtle chocolate backbone, which makes the flavor deeper and more complex than a simple sugar cookie.
Cream Cheese: This is where the magic happens. Slightly tangy, ultra creamy, and smooth, it balances the sweetness perfectly.
Let’s Bake Together Step by Step
Alright, apron on. And now let dive to the fun part, bringing everything together.
- Preheat Your Equipment: Preheat your oven to 350 degrees Fahrenheit and line baking sheets with parchment paper.
- Combine Ingredients: In one bowl, whisk together flour, cocoa powder, baking soda, and salt. In another bowl, beat butter and sugar until light and fluffy. Add eggs one at a time, then mix in vanilla, red food coloring, and vinegar. Gradually add the dry mixture and mix just until combined.
- Prepare Your Cooking Vessel: Scoop tablespoon sized portions of dough onto the prepared baking sheets, spacing them about 2 inches apart.
- Assemble the Dish: Gently flatten each scoop slightly with your fingers to ensure even baking.
- Cook to Perfection: Bake for 9 to 11 minutes, until the edges are set but the centers still look soft. Let them cool on the baking sheet for a few minutes, then transfer to a cooling rack.
- Finishing Touches: Beat cream cheese and powdered sugar until smooth and fluffy. Once cookies are completely cool, spread or pipe filling onto one cookie and top with another to create sandwiches.
- Serve and Enjoy: Chill briefly to set the filling, then serve and watch them disappear.
Texture and Flavor That Make Every Bite Worth It
The outside has a delicate, slightly crisp edge, while the center stays soft and tender. The cocoa flavor is gentle, not overpowering, and the cream cheese filling adds a cool, creamy contrast. Let me tell you, it’s worth every bite.
Smart Baking Tips for Even Better Results
Here are a few extra ideas to elevate your batch.
- Chill the filled cookies for 30 minutes for cleaner slices and firmer filling.
- Use a piping bag for a neat, bakery style look.
- Rotate baking sheets halfway through baking for even color.
Common Mistakes and How to Avoid Them
Even simple recipes can have hiccups, so here is what to watch for.
- Overbaking, which can dry them out. Pull them when the centers still look slightly soft.
- Filling warm cookies, which causes the cream to slide.
- Overmixing the dough, which can make them dense instead of tender.
A Quick Look at the Nutrition
Servings: 12 sandwich cookies
Calories per serving: 320
Note: These are approximate values.
Time Breakdown So You Can Plan Ahead
Prep Time: 20 minutes
Cook Time: 10 minutes
Total Time: 30 minutes
Make Ahead and Storage Made Simple
You can bake the cookies a day in advance and store them in an airtight container at room temperature. Once filled, keep them in the refrigerator for up to 4 days. They can also be frozen, filled or unfilled, for up to 2 months. Thaw in the fridge and bring to room temperature before serving.
How to Serve for Maximum Impact
Serve them slightly chilled for a firmer bite or at room temperature for extra softness. Pair with a cold glass of milk or a hot cup of coffee for a cozy treat.
Creative Ways to Use Leftovers
If you have extras, crumble them over vanilla ice cream or use them as a base for a fun cookie trifle layered with whipped cream.
Extra Tips for Flavor and Freshness
Add a tiny pinch of salt to the filling for contrast. Store with parchment between layers to prevent sticking. Always use fresh baking soda for the best lift.
Make Them Look Bakery Perfect
Pipe the filling in a neat swirl and gently press the top cookie until the cream reaches the edges. Wipe any excess for a clean finish.
Fun Variations to Try
- Add mini white chocolate chips to the dough.
- Mix a bit of lemon zest into the filling for brightness.
- Roll the edges in crushed nuts for texture.
- Add a touch of espresso powder to deepen the cocoa flavor.
FAQ’s
Q1: Can I freeze the dough?
Yes, scoop it into portions and freeze. Bake from frozen, adding a minute or two.
Q2: Do I have to use red food coloring?
No, but it will not have the classic red look without it.
Q3: Can I make them smaller?
Absolutely, just reduce baking time slightly.
Q4: Why is vinegar included?
It reacts with baking soda and enhances tenderness.
Q5: Can I use low fat cream cheese?
Full fat gives the best texture, but low fat can work.
Q6: How do I keep them soft?
Store in an airtight container and avoid overbaking.
Q7: Can I double the recipe?
Yes, it doubles very well.
Q8: What if my filling is too thin?
Add a bit more powdered sugar until it thickens.
Q9: Can I pipe decorative shapes?
Yes, use a star tip for a decorative finish.
Q10: Are they overly sweet?
The tangy filling balances the sweetness nicely.
Conclusion
There is something special about baking a batch of these cookies and sharing them with people you love. They look impressive, taste incredible, and come together without stress. Give them a try, and I promise, they will become a favorite in your kitchen too.
Print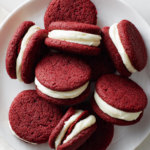
Red Velvet Sandwich Cookies
- Prep Time: 20 minutes
- Cook Time: 10 minutes
- Total Time: 30 minutes
- Yield: 12 sandwich cookies
- Category: Dessert
- Method: Baking
- Cuisine: American
- Diet: Vegetarian
Description
Soft cocoa flavored red cookies sandwiched with a rich and tangy cream cheese filling. These bakery style treats are vibrant, tender, and perfectly balanced between sweet and slightly chocolatey.
Ingredients
- 2 cups all purpose flour
- 2 tablespoons unsweetened cocoa powder
- 1 teaspoon baking soda
- 1/2 teaspoon salt
- 1/2 cup unsalted butter, softened
- 1 cup granulated sugar
- 2 large eggs, room temperature
- 1 teaspoon vanilla extract
- 1 tablespoon red food coloring
- 1 teaspoon white vinegar
- 8 ounces cream cheese, softened
- 2 cups powdered sugar
Instructions
- Preheat oven to 350 degrees Fahrenheit and line baking sheets with parchment paper.
- In a bowl whisk together flour, cocoa powder, baking soda, and salt.
- In a separate bowl beat butter and sugar until light and fluffy. Add eggs one at a time, then mix in vanilla extract, red food coloring, and vinegar.
- Gradually add the dry ingredients to the wet mixture and mix just until combined.
- Scoop tablespoon sized portions of dough onto prepared baking sheets, spacing them about 2 inches apart. Gently flatten slightly for even baking.
- Bake for 9 to 11 minutes until edges are set and centers are slightly soft. Cool on baking sheet for a few minutes, then transfer to a cooling rack to cool completely.
- Beat cream cheese and powdered sugar together until smooth and fluffy.
- Spread or pipe filling onto the flat side of one cookie and top with another cookie to form a sandwich. Chill briefly before serving.
Notes
- Make sure cookies are completely cool before adding filling to prevent melting.
- Chill filled cookies for 30 minutes for a firmer texture.
- Store in an airtight container in the refrigerator for up to 4 days.
Nutrition
- Serving Size: 1 sandwich cookie
- Calories: 320
- Sugar: 24g
- Sodium: 210mg
- Fat: 16g
- Saturated Fat: 9g
- Unsaturated Fat: 5g
- Trans Fat: 0g
- Carbohydrates: 40g
- Fiber: 1g
- Protein: 4g
- Cholesterol: 65mg