
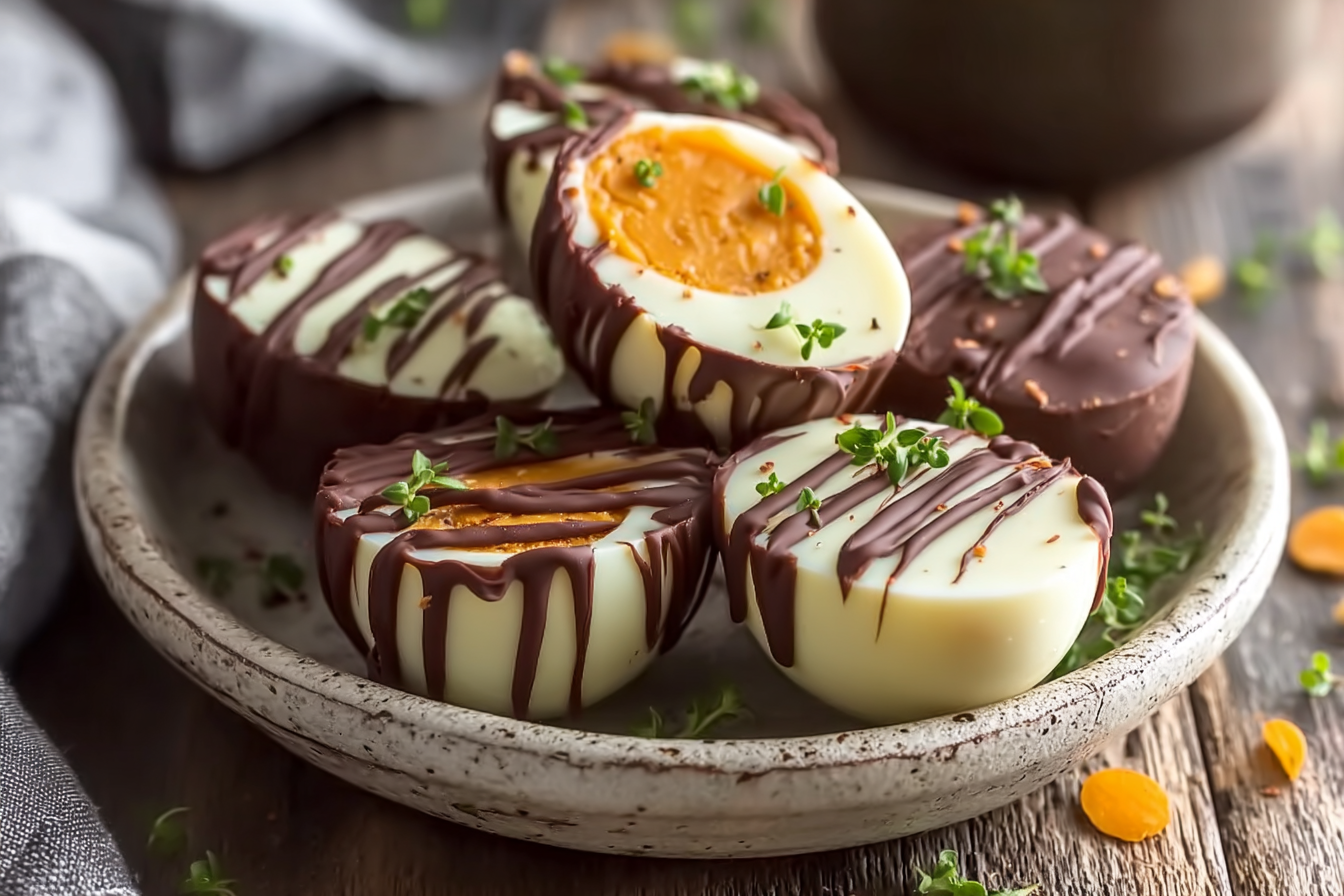
There’s something undeniably comforting about the rich blend of creamy peanut butter wrapped in a smooth layer of chocolate. Homemade Reese’s Eggs capture that nostalgic magic but with the joy of crafting them in your own kitchen. Imagine biting into a soft, melt-in-your-mouth treat where sweet peanut butter filling meets the snap of chocolate coating, all shaped like little eggs that make every bite feel playful and celebratory.
Behind the Recipe
When I was little, nothing said “springtime” like finding Reese’s Eggs tucked into an Easter basket. That first taste always seemed extra special—maybe it was the festive shape, maybe the creamier peanut butter filling compared to the regular cups. Recreating them at home brings back those memories in the most delicious way, with the added bonus of making them even richer and fresher than the store-bought version.
Recipe Origin or Trivia
Reese’s Peanut Butter Cups were invented in the 1920s, but the egg-shaped seasonal version quickly became a fan favorite after its debut decades later. People often say the peanut butter-to-chocolate ratio in the eggs is perfect, making them creamier and more indulgent than their year-round counterparts. By making them at home, you can not only enjoy them outside of holiday seasons but also tailor the flavor and thickness exactly to your liking.
Why You’ll Love Homemade Reese’s Eggs
Trust me, you’re going to love this because these little delights check every box of what makes a dessert irresistible.
Versatile: Enjoy them for Easter, birthdays, or just a cozy movie night treat.
Budget-Friendly: With pantry staples like peanut butter, powdered sugar, and chocolate, they’re cheaper than buying a pack at the store.
Quick and Easy: No fancy equipment, just a mixing bowl and a microwave.
Customizable: Use dark, milk, or even white chocolate for the coating, and adjust the sweetness of the filling.
Crowd-Pleasing: A batch never lasts long because everyone loves them.
Make-Ahead Friendly: Prepare and freeze them for later so you’re always ready with a treat.
Great for Leftovers: Chop them into ice cream, brownies, or mix into milkshakes.
Print
Homemade Reese’s Eggs
- Prep Time: 25 minutes
- Cook Time: 5 minutes
- Total Time: 30 minutes
- Yield: 12 medium eggs
- Category: Candy
- Method: No-bake, assembly and dipping
- Cuisine: American
- Diet: Vegetarian
Description
Creamy homemade peanut butter eggs coated in glossy chocolate, perfect for Easter baskets or anytime you crave a nostalgic sweet and salty treat.
Ingredients
- Creamy Peanut Butter: 1 cup
- Unsalted Butter, softened: 1/4 cup (56 g)
- Powdered Sugar: 2 cups (240 g)
- Vanilla Extract: 1 teaspoon (5 ml)
- Salt: 1/8 teaspoon (pinch)
- Semi-Sweet Chocolate Chips: 2 cups (340 g)
- Coconut Oil: 2 teaspoons (10 ml)
Instructions
- Preheat Your Equipment: Line a baking sheet with parchment paper and clear space in the refrigerator or freezer for chilling.
- Combine Ingredients: In a mixing bowl, beat together 1 cup creamy peanut butter, 1/4 cup softened unsalted butter, 2 cups powdered sugar, 1 teaspoon vanilla extract, and 1/8 teaspoon salt until smooth and well combined.
- Prepare Your Cooking Vessel: Spread the peanut butter mixture onto the lined baking sheet about 1/2 inch (1.3 cm) thick, smoothing the surface with an offset spatula. Place the sheet in the freezer for about 15 minutes until firm.
- Assemble the Dish: Use an egg-shaped cookie cutter to cut out egg shapes from the chilled peanut butter slab, or shape into ovals by hand if you do not have a cutter. Place the shaped eggs back onto the parchment-lined sheet.
- Cook to Perfection: In a microwave-safe bowl, combine 2 cups semi-sweet chocolate chips and 2 teaspoons coconut oil. Melt in 20-30 second intervals, stirring between each, until smooth and glossy. Be careful not to overheat.
- Finishing Touches: Using a fork or dipping tool, dip each peanut butter egg into the melted chocolate, tapping off excess and returning the coated egg to the parchment. For a thicker shell, allow the first coat to set briefly and dip a second time. Optionally sprinkle a pinch of flaky sea salt on top before the chocolate sets.
- Serve and Enjoy: Chill the dipped eggs in the refrigerator until the chocolate is fully set, about 10-20 minutes. Store chilled in an airtight container and enjoy.
Notes
- Chill the peanut butter mixture well before shaping to make clean cuts and easy handling.
- Use high-quality chocolate for a glossy finish and superior flavor.
- Add a teaspoon of coconut oil to the chocolate to help it set shiny and prevent cracking.
- Layer parchment between stored eggs to prevent sticking.
Nutrition
- Serving Size: 1 egg (approx 34 g)
- Calories: 240
- Sugar: 16 g
- Sodium: 120 mg
- Fat: 16 g
- Saturated Fat: 6 g
- Unsaturated Fat: 9 g
- Trans Fat: 0 g
- Carbohydrates: 20 g
- Fiber: 2 g
- Protein: 6 g
- Cholesterol: 10 mg
Chef’s Pro Tips for Perfect Results
The secret to perfect Reese’s Eggs lies in the details, and these little tips will ensure your batch tastes bakery-worthy every time.
- Chill the peanut butter mixture before shaping to keep it firm and easier to handle.
- Use high-quality melting chocolate for a glossy, smooth finish.
- Double-dip the eggs in chocolate for an extra-thick coating.
- Add a teaspoon of coconut oil to the chocolate to prevent cracking.
- Sprinkle a touch of sea salt on top before the coating hardens for a sweet-salty kick.
Kitchen Tools You’ll Need
You don’t need a professional pastry setup—just a few everyday tools will do the trick.
Mixing Bowl: For combining peanut butter and sugar.
Electric Mixer or Spoon: To mix the filling smoothly.
Measuring Cups and Spoons: Accuracy matters for balance.
Baking Sheet: To hold your shaped eggs while they set.
Parchment Paper: Keeps everything from sticking.
Microwave-Safe Bowl: For melting chocolate without burning.
Fork or Dipping Tool: Helps coat the eggs evenly in chocolate.
Ingredients in Homemade Reese’s Eggs
Every ingredient plays its part in creating that iconic taste and texture, from the creamy filling to the smooth chocolate shell.
- Creamy Peanut Butter: 1 cup. The star of the show, giving that nutty, rich flavor.
- Unsalted Butter: 1/4 cup, softened. Adds creaminess and smooth texture.
- Powdered Sugar: 2 cups. Sweetens and firms up the filling.
- Vanilla Extract: 1 teaspoon. Enhances the overall flavor.
- Salt: 1/8 teaspoon. Balances the sweetness and boosts the peanut flavor.
- Semi-Sweet Chocolate Chips: 2 cups. Creates the smooth, rich coating.
- Coconut Oil: 2 teaspoons. Helps the chocolate set with shine.
Ingredient Substitutions
Sometimes the pantry calls for a little creativity, and here are a few swaps that work beautifully.
Peanut Butter: Almond butter or sunflower seed butter.
Powdered Sugar: Coconut sugar blended to powder form.
Semi-Sweet Chocolate Chips: Dark chocolate or milk chocolate.
Coconut Oil: Vegetable shortening or butter.
Ingredient Spotlight
Peanut Butter: The creaminess and nutty depth define the filling and give it that unmistakable Reese’s taste.
Chocolate Chips: Using quality chocolate makes a big difference in texture and flavor, giving you a professional finish.
Instructions for Making Homemade Reese’s Eggs
The fun part begins here. Making these is a hands-on joy, and each step builds toward that first irresistible bite.
- Preheat Your Equipment: Line a baking sheet with parchment paper and clear space in your fridge.
- Combine Ingredients: Beat together peanut butter, softened butter, powdered sugar, vanilla, and salt until smooth.
- Prepare Your Cooking Vessel: Spread the mixture evenly onto the lined baking sheet, about 1/2 inch thick. Freeze for 15 minutes until firm.
- Assemble the Dish: Use an egg-shaped cookie cutter to cut out egg shapes. Place them back onto the baking sheet.
- Cook to Perfection: Melt chocolate chips with coconut oil in a microwave-safe bowl, stirring until smooth.
- Finishing Touches: Dip each peanut butter egg into the melted chocolate using a fork, letting excess drip off. Place back on parchment paper.
- Serve and Enjoy: Chill in the fridge until chocolate sets, then dig in to your homemade masterpiece.
Texture & Flavor Secrets
The filling is softer and creamier than a standard peanut butter cup, while the chocolate shell gives a satisfying snap with every bite. That contrast—the melt-in-your-mouth center against the crisp outer layer—is what makes them so addictive. The sweetness of the filling, balanced with a slight saltiness, harmonizes perfectly with the richness of chocolate.
Cooking Tips & Tricks
Keep these little tips in your pocket for a stress-free cooking session.
- Freeze shaped peanut butter eggs before dipping for easier handling.
- Stir chocolate frequently while melting to avoid burning.
- Store dipped eggs in layers separated by parchment to prevent sticking.
What to Avoid
Even simple recipes have a few pitfalls, but they’re easy to dodge with a little awareness.
- Avoid using natural peanut butter with oil separation—it makes the filling too runny.
- Don’t skip chilling before dipping, or your eggs will fall apart in the chocolate.
- Don’t overheat chocolate in the microwave—it scorches easily.
Nutrition Facts
Servings: 12 eggs
Calories per serving: 240
Note: These are approximate values.
Preparation Time
Prep Time: 25 minutes
Cook Time: 5 minutes
Total Time: 30 minutes
Make-Ahead and Storage Tips
The beauty of this recipe is how well it stores. You can shape and freeze the peanut butter eggs ahead of time, then coat them in chocolate when ready to serve. Store finished eggs in the fridge for up to 2 weeks, or freeze for up to 2 months. Just thaw in the fridge overnight before enjoying.
How to Serve Homemade Reese’s Eggs
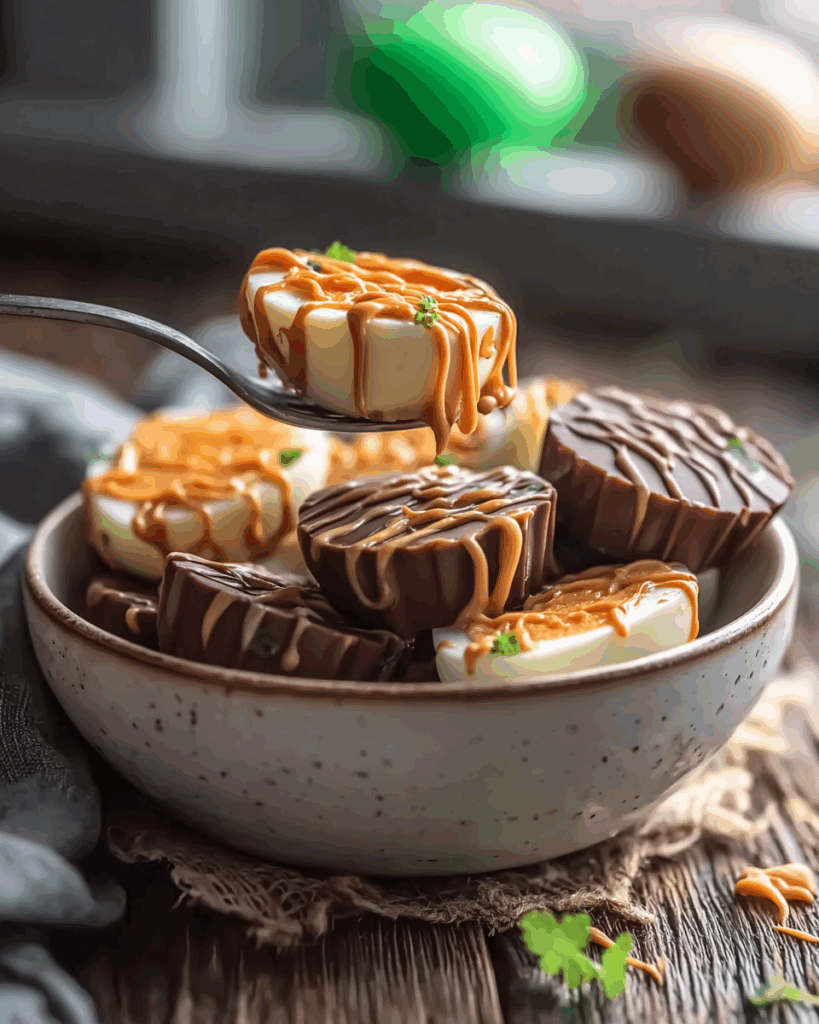
These eggs look beautiful nestled in an Easter basket, but they’re just as delightful stacked on a dessert tray. Pair them with a glass of cold milk, crumble them over vanilla ice cream, or serve with coffee for a sweet afternoon pick-me-up.
Creative Leftover Transformations
Leftovers? Rare, but possible! Chop the eggs into brownie batter, swirl into milkshakes, or use as a topping for cupcakes. They transform easily into fun desserts.
Additional Tips
If you want an even richer flavor, add a spoonful of honey or maple syrup to the filling. For a festive twist, drizzle melted white chocolate on top after dipping. Always store them chilled to keep that perfect chocolate snap.
Make It a Showstopper
Presentation takes these from tasty to unforgettable. Arrange them on a pastel-colored platter, drizzle with contrasting chocolate stripes, or add sprinkles before the coating sets. They’ll look as good as they taste.
Variations to Try
- Dark Chocolate Reese’s Eggs: Use rich dark chocolate for a more intense flavor.
- White Chocolate Eggs: Dip them in creamy white chocolate for a fun twist.
- Crunchy Peanut Butter Eggs: Use crunchy peanut butter for added texture.
- Salted Caramel Peanut Butter Eggs: Add a thin layer of caramel between filling and chocolate.
- Nut-Free Eggs: Make with sunflower butter for allergy-friendly treats.
FAQ’s
1. Can I use natural peanut butter?
No, it’s too oily and runny for this recipe. Stick to creamy, no-stir peanut butter.
2. Can I make these without a cookie cutter?
Yes, shape the mixture by hand into ovals.
3. How do I keep the chocolate from cracking?
Add a little coconut oil when melting to keep it smooth and flexible.
4. Can I freeze Reese’s Eggs?
Yes, freeze for up to 2 months in an airtight container.
5. How do I prevent the chocolate from getting dull?
Temper the chocolate or use candy melts for a glossy finish.
6. What if I don’t have coconut oil?
Use vegetable shortening or butter instead.
7. Can I make them vegan?
Yes, use dairy-free chocolate and vegan butter.
8. How many eggs does this recipe make?
Around 12 medium-sized eggs, depending on cutter size.
9. How do I store them?
Keep in the fridge in an airtight container for up to 2 weeks.
10. Can I add toppings?
Absolutely, sprinkles, sea salt, or drizzle extra chocolate on top.
Conclusion
Homemade Reese’s Eggs bring together nostalgia, fun, and irresistible flavor in one simple recipe. Whether you’re making them for Easter or just to satisfy a sweet craving, they deliver pure joy in every bite. Once you try crafting them at home, you may never look back to store-bought again—because trust me, these are worth every bite.