
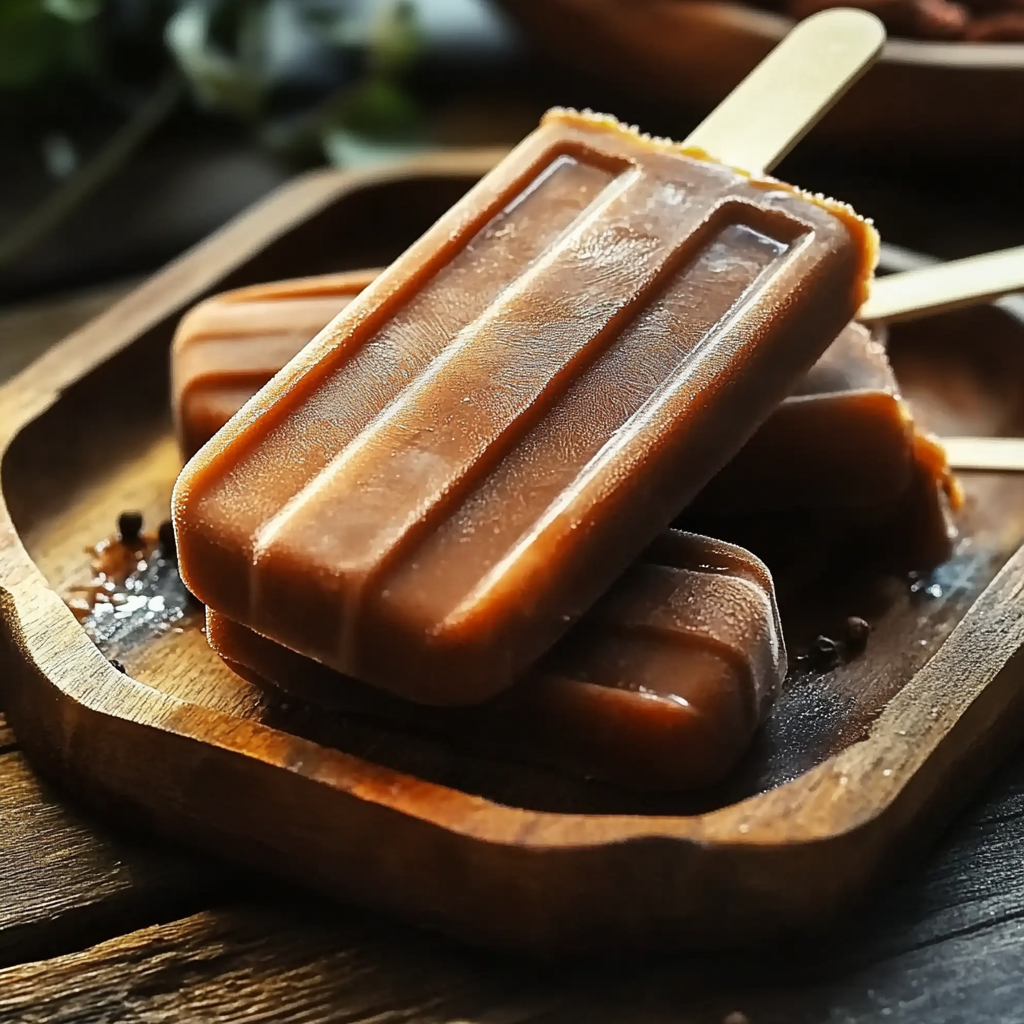
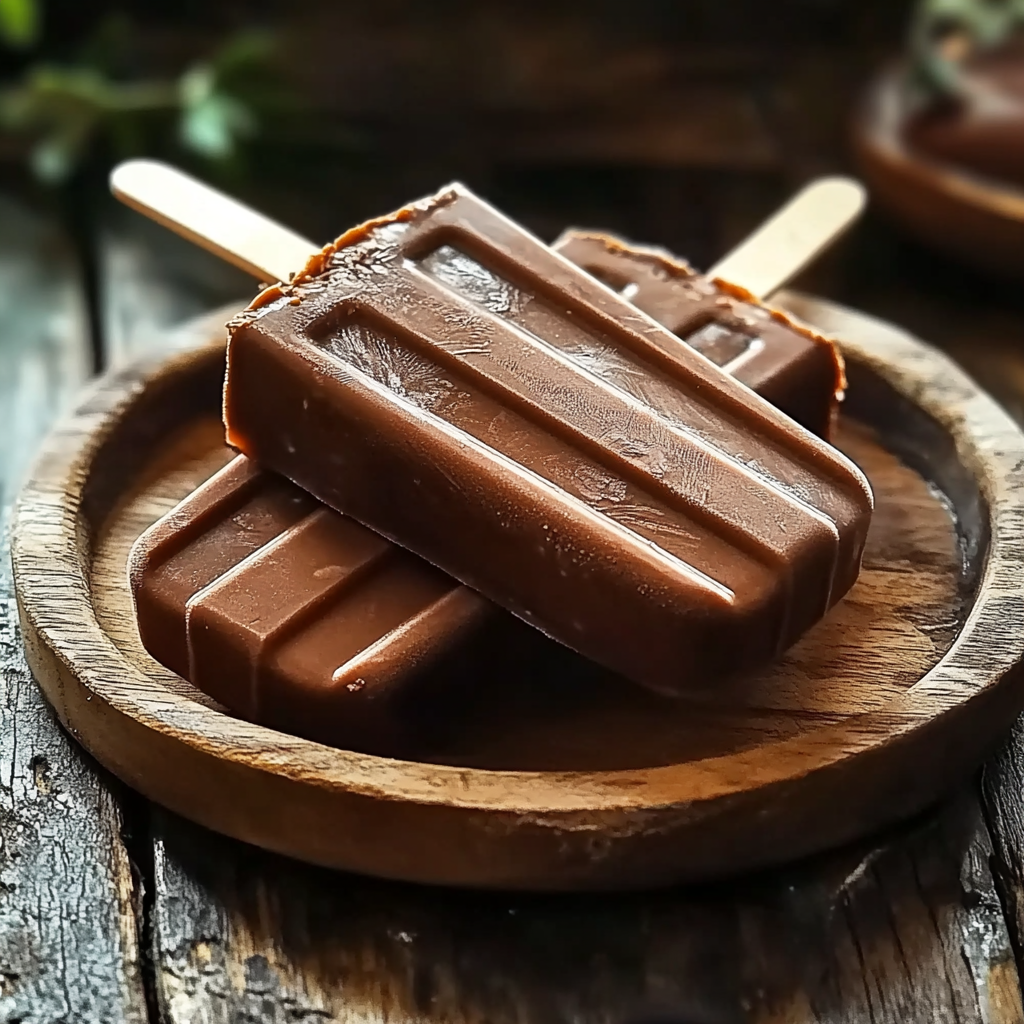
There’s something almost magical about that first bite into a homemade fudgesicle. The velvety smoothness, the deep cocoa aroma wafting up as the cold melts against your tongue, and the satisfying balance of rich chocolate with just the right hint of sweetness. These aren’t the icy, overly sweet bars from the store — these are creamy, decadent, and made with love right in your own kitchen.
Behind the Recipe
This recipe comes from my childhood summers, when the sound of the freezer door opening meant happiness on a stick. My grandmother had a knack for turning simple pantry staples into frozen treats that felt like pure luxury. I remember peeking into the freezer every hour, impatiently checking if they were ready. Now, making these at home feels like revisiting those sun-soaked afternoons.
Recipe Origin or Trivia
Frozen chocolate treats have been delighting people since the early 20th century, with the first “frozen chocolate” patents popping up in the 1920s. The fudgesicle’s creamier cousin emerged as a more indulgent alternative to the classic popsicle. Its popularity grew quickly in America, but versions of chocolate milk ice pops can also be found in Europe and Asia, often with regional twists like adding coconut milk or coffee.
Print
Homemade Fudgesicles
- Prep Time: 10 minutes
- Cook Time: 10 minutes
- Total Time: 4 hours 20 minutes
- Yield: 8 servings
- Category: Dessert
- Method: Freezing
- Cuisine: American
- Diet: Vegetarian
Description
Creamy, chocolatey homemade fudgesicles that bring back nostalgic summer memories. These frozen treats are rich, smooth, and easy to make with simple pantry ingredients.
Ingredients
- 2 cups whole milk
- 1 cup heavy cream
- 1/2 cup unsweetened cocoa powder
- 2/3 cup granulated sugar
- 2 tablespoons cornstarch
- 1/8 teaspoon salt
- 1 teaspoon vanilla extract
Instructions
- Prepare your popsicle molds and sticks.
- In a medium saucepan, whisk together cocoa powder, sugar, cornstarch, and salt.
- Gradually whisk in milk and cream until smooth.
- Place the saucepan over medium heat and cook, stirring continuously, until the mixture thickens and begins to bubble.
- Remove from heat and stir in vanilla extract.
- Allow the mixture to cool to room temperature.
- Pour into molds, insert sticks, and freeze for 4–6 hours or until solid.
Notes
- Use high-quality cocoa for the best flavor.
- Chill mixture before freezing to prevent ice crystals.
- For easy removal, dip molds in warm water for a few seconds before unmolding.
Nutrition
- Serving Size: 1 fudgesicle
- Calories: 210
- Sugar: 20g
- Sodium: 35mg
- Fat: 12g
- Saturated Fat: 7g
- Unsaturated Fat: 4g
- Trans Fat: 0g
- Carbohydrates: 25g
- Fiber: 2g
- Protein: 4g
- Cholesterol: 30mg
Why You’ll Love Homemade Fudgesicles
Versatile: Perfect for after-school snacks, dinner party desserts, or simply cooling down on a hot day.
Budget-Friendly: Uses simple pantry ingredients that won’t stretch your grocery bill.
Quick and Easy: Minimal prep time, then let the freezer do the work.
Customizable: Add espresso for a mocha twist or swirl in peanut butter for a richer bite.
Crowd-Pleasing: Loved by both kids and adults alike.
Make-Ahead Friendly: You can prepare them days in advance.
Great for Leftovers: If you somehow have any left, they keep beautifully in the freezer.
Chef’s Pro Tips for Perfect Results
The secret to perfect fudgesicles lies in the texture and balance of sweetness.
- Use high-quality cocoa powder for the richest chocolate flavor.
- Blend the mixture until completely smooth to avoid icy crystals.
- Let the mixture cool before pouring into molds for a creamier texture.
- For easy unmolding, dip the molds briefly in warm water before pulling out the pops.
Kitchen Tools You’ll Need
A few simple tools will help you nail this recipe every time.
- Medium saucepan: For heating the mixture evenly.
- Whisk: To ensure smooth blending without lumps.
- Measuring cups and spoons: For accuracy.
- Blender (optional): For extra creaminess.
- Popsicle molds: To shape your fudgesicles perfectly.
Ingredients in Homemade Fudgesicles
These ingredients work together to create the perfect creamy-chocolate balance.
- Whole milk: 2 cups, provides creaminess and a smooth texture.
- Heavy cream: 1 cup, adds richness and prevents iciness.
- Unsweetened cocoa powder: 1/2 cup, delivers deep chocolate flavor.
- Granulated sugar: 2/3 cup, balances the bitterness of cocoa.
- Cornstarch: 2 tablespoons, thickens the mixture for a silky mouthfeel.
- Salt: 1/8 teaspoon, enhances the chocolate’s depth.
- Vanilla extract: 1 teaspoon, adds warmth and complexity.
Ingredient Substitutions
Sometimes the pantry calls for creativity.
- Whole milk: Almond or oat milk for a dairy-free option.
- Heavy cream: Coconut cream for a tropical twist.
- Granulated sugar: Honey or maple syrup for natural sweetness.
Ingredient Spotlight
Unsweetened cocoa powder: The backbone of this recipe, offering pure chocolate intensity without added sugar.
Heavy cream: Adds luscious body, making each bite creamy rather than icy.
Instructions for Making Homemade Fudgesicles
Before we dive in, remember — the fun is in the process as much as the result.
- Preheat Your Equipment: Not needed here, but get your molds and sticks ready.
- Combine Ingredients: In a medium saucepan, whisk together cocoa powder, sugar, cornstarch, and salt. Gradually whisk in milk and cream until smooth.
- Prepare Your Cooking Vessel: Place the saucepan over medium heat.
- Assemble the Dish: Stir continuously until the mixture thickens and begins to bubble.
- Cook to Perfection: Once thick, remove from heat and stir in vanilla extract.
- Finishing Touches: Let the mixture cool to room temperature.
- Serve and Enjoy: Pour into molds, insert sticks, and freeze for at least 4–6 hours before serving.
Texture & Flavor Secrets
The key to that perfect fudgesicle bite is preventing large ice crystals. Heating the mixture with cornstarch ensures it thickens slightly, locking in a creamy consistency. The cocoa and cream combination yields a chocolate flavor that’s deep yet smooth, without overwhelming sweetness.
Cooking Tips & Tricks
- Chill the mixture before pouring into molds to reduce ice formation.
- Tap molds gently to remove air bubbles before freezing.
- Add mix-ins like mini chocolate chips after pouring into molds for fun texture.
What to Avoid
- Avoid overcooking the mixture, as it can curdle.
- Don’t skip the cornstarch — it’s essential for smoothness.
- Avoid using low-fat milk if you want creaminess.
Nutrition Facts
Servings: 8
Calories per serving: 210
Note: These are approximate values.
Preparation Time
Prep Time: 10 minutes
Cook Time: 10 minutes
Total Time: 4 hours 20 minutes (including freezing)
Make-Ahead and Storage Tips
These fudgesicles are perfect for prepping ahead — in fact, they need it. You can make them several days in advance and keep them in the freezer for up to 2 months. To prevent freezer burn, wrap each in parchment paper once frozen.
How to Serve Homemade Fudgesicles
Serve straight from the mold on hot days, or plate them with a drizzle of chocolate syrup and fresh berries for a dinner party dessert.
Creative Leftover Transformations
- Chop and stir into vanilla ice cream for a chocolate ripple effect.
- Blend with milk for a quick, icy chocolate shake.
- Dice and mix into brownie batter for an extra chocolate punch.
Additional Tips
Use silicone molds for easier removal, and don’t be afraid to experiment with flavor extracts like peppermint or orange.
Make It a Showstopper
Dip the tops in melted chocolate and sprinkle with crushed nuts or coconut for a picture-perfect finish.
Variations to Try
- Classic Mocha: Add 1 teaspoon instant espresso powder.
- Peanut Butter Swirl: Drizzle peanut butter into the molds before freezing.
- Mint Chocolate: Add 1/2 teaspoon peppermint extract.
- Coconut Dream: Replace cream with coconut cream and sprinkle with toasted coconut.
- Dark Chocolate Lovers: Use dark cocoa powder and reduce sugar slightly.
FAQ’s
Q1: Can I make these vegan?
A1: Yes, use plant-based milk and coconut cream.
Q2: How long do they take to freeze?
A2: Typically 4–6 hours, but overnight yields the best texture.
Q3: Can I reduce the sugar?
A3: Yes, but they may be less creamy.
Q4: What if I don’t have molds?
A4: Use small paper cups and popsicle sticks.
Q5: Can I add alcohol?
A5: Not recommended, as it affects freezing.
Q6: Are these gluten-free?
A6: Yes, naturally.
Q7: Can I double the recipe?
A7: Absolutely, just use a larger saucepan.
Q8: How do I prevent ice crystals?
A8: Chill the mixture before freezing and store well-wrapped.
Q9: Can I use low-fat milk?
A9: You can, but they will be icier.
Q10: Do they melt quickly?
A10: They hold well but will soften in warm temperatures.
Conclusion
Homemade fudgesicles are the ultimate summer indulgence, blending nostalgia with pure chocolate satisfaction. Trust me, you’re going to love this — from the first creamy bite to the last drip of melted chocolate on your fingers.