
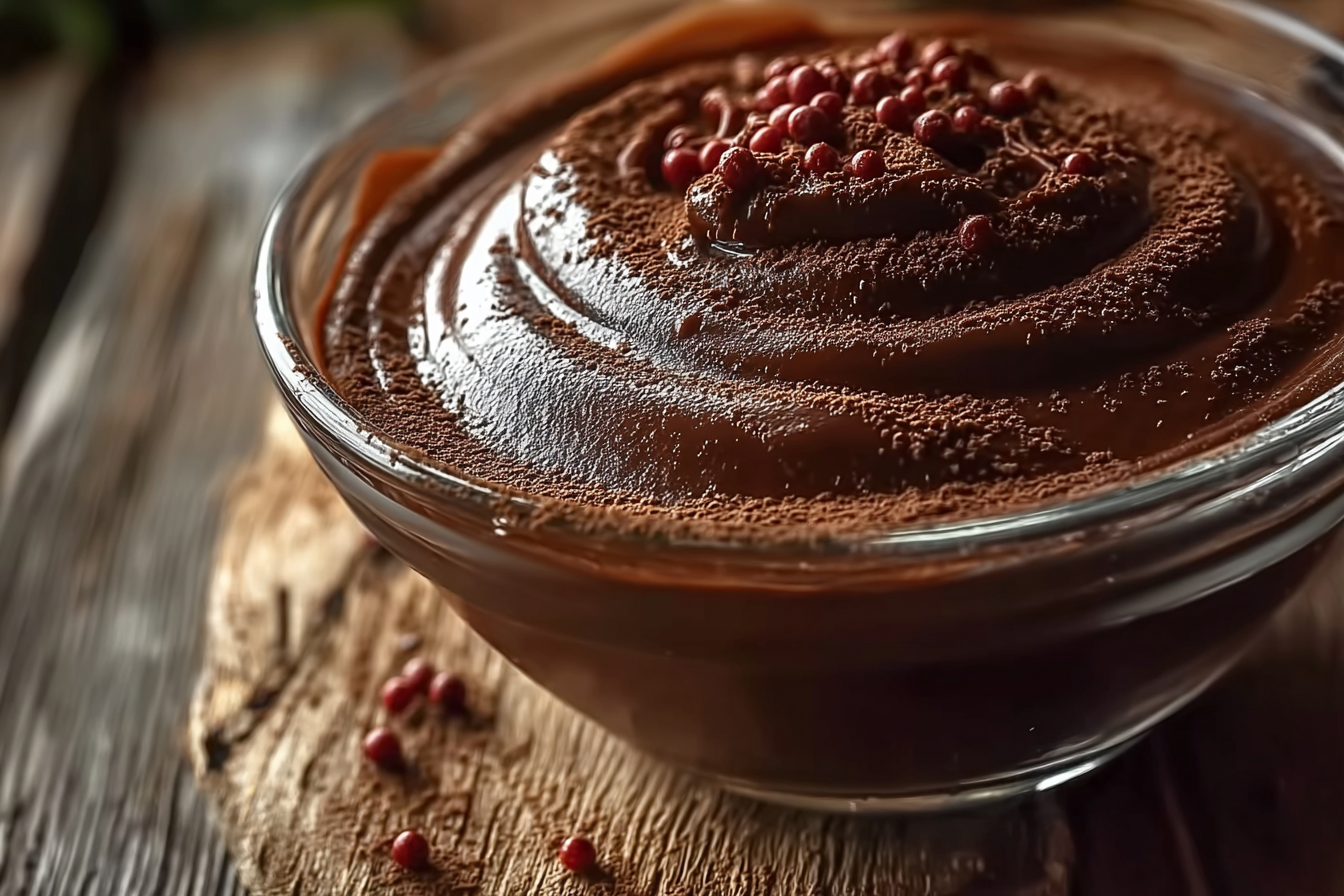
There’s something undeniably comforting about a spoonful of rich, velvety Homemade Chocolate Pudding. The way it melts on your tongue, that balance of cocoa bitterness and creamy sweetness—it’s like a warm hug in dessert form. Imagine yourself in the kitchen, the scent of chocolate filling the air as the pudding thickens on the stove. Trust me, you’re going to love this one.
Behind the Recipe
This pudding is one of those timeless recipes that brings back sweet memories of childhood. I remember watching the stovetop bubble gently while I stood on tiptoes, waiting for that first taste. It’s simple, soulful, and always hits the spot. Whether you’re serving it chilled after dinner or still warm on a cozy night, it never fails to make people smile.
Recipe Origin or Trivia
Chocolate pudding has its roots in European custard traditions, where thickened milk desserts were a staple of fine dining. Over time, it made its way into American kitchens, evolving into the creamy, cocoa-rich treat we love today. It’s a humble recipe with global charm—a testament to how universally adored chocolate truly is.
Why You’ll Love Homemade Chocolate Pudding
You’re in for a treat because this pudding checks all the boxes of a perfect dessert.
Versatile: Serve it warm, chilled, or layered in parfaits with fruits or whipped cream.
Budget-Friendly: Made with pantry staples you probably already have.
Quick and Easy: Ready in about 20 minutes from start to finish.
Customizable: Adjust sweetness or use dark cocoa for a deeper flavor.
Crowd-Pleasing: Loved by kids and adults alike, perfect for any occasion.
Make-Ahead Friendly: Prepare it the night before and let it chill until serving.
Great for Leftovers: Keeps beautifully in the fridge for several days.
Chef’s Pro Tips for Perfect Results
A few insider secrets can take your pudding from good to unforgettable.
- Use good-quality cocoa powder for that deep, rich flavor.
- Whisk constantly while cooking to prevent lumps or scorching.
- Add butter at the end for a glossy finish and smooth texture.
- Chill with plastic wrap pressed on top to avoid a skin forming.
- Serve with a sprinkle of sea salt to enhance the chocolate’s depth.
Kitchen Tools You’ll Need
To make your cooking experience seamless, here’s what you’ll want on hand:
- Medium saucepan: For heating and thickening the pudding mixture.
- Whisk: Keeps everything smooth and lump-free.
- Heatproof spatula: Great for scraping the edges as it cooks.
- Measuring cups and spoons: Precision is key to perfect consistency.
- Serving bowls or cups: Because presentation matters!
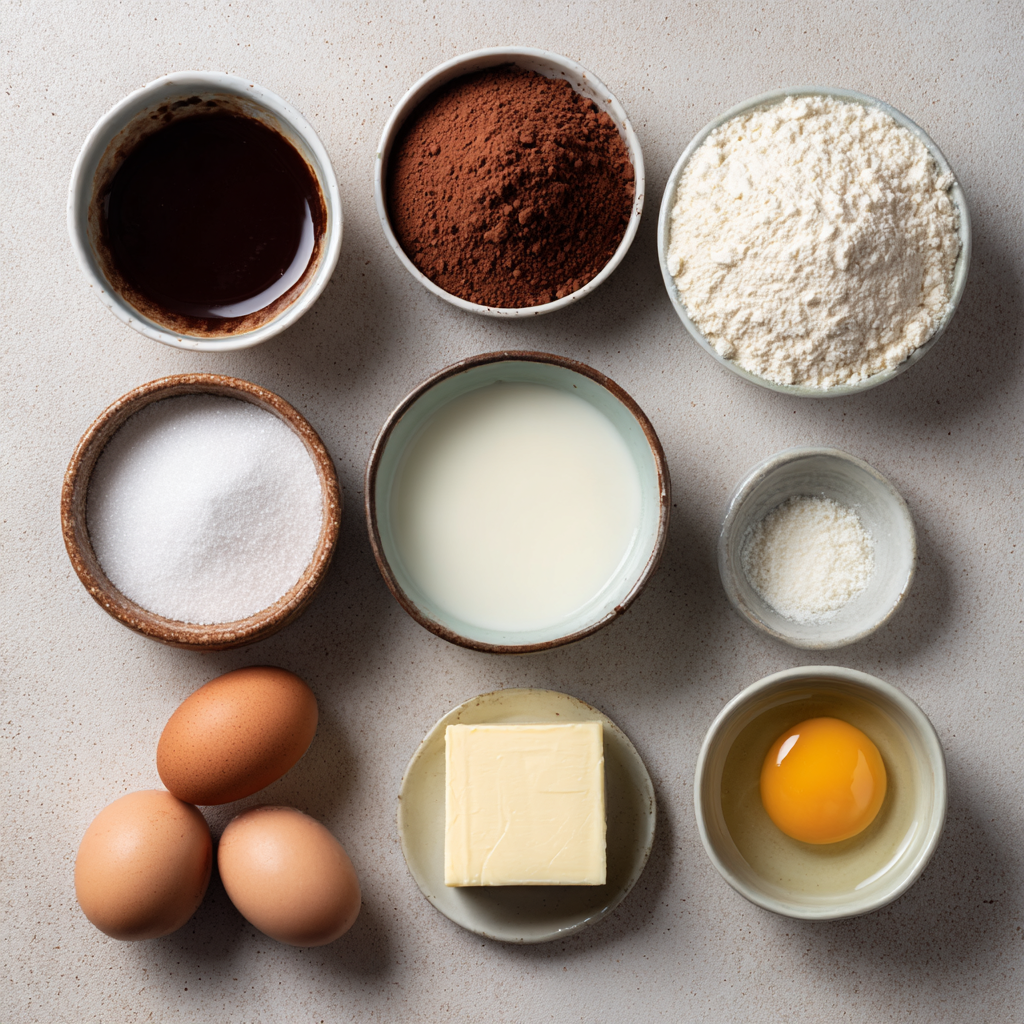
Ingredients in Homemade Chocolate Pudding
Each ingredient works together to create that luscious texture and indulgent flavor.
- Granulated sugar: 1/2 cup. Sweetens and balances the cocoa’s bitterness.
- Unsweetened cocoa powder: 1/3 cup. The star ingredient giving it that deep chocolate essence.
- Cornstarch: 3 tablespoons. Helps thicken the pudding to the perfect consistency.
- Salt: 1/4 teaspoon. Enhances flavor and balances sweetness.
- Whole milk: 2 3/4 cups. Adds creaminess and a smooth mouthfeel.
- Egg yolks: 2 large. Enriches the texture and gives body to the pudding.
- Unsalted butter: 2 tablespoons. Adds silky richness and shine.
- Vanilla extract: 1 teaspoon. Brings warmth and aromatic sweetness.
Ingredient Substitutions
You can easily adapt this recipe to what you have on hand.
Milk: Substitute with almond or oat milk for a dairy-free version.
Cornstarch: Use arrowroot powder for a similar thickening effect.
Butter: Try coconut oil for a plant-based alternative.
Sugar: Replace with maple syrup or honey for natural sweetness.
Ingredient Spotlight
Cocoa Powder: Choose a high-quality, unsweetened cocoa. The better the cocoa, the deeper and more complex the chocolate flavor will be.
Egg Yolks: These add richness and a custard-like texture that makes homemade pudding stand out from store-bought mixes.
Instructions for Making Homemade Chocolate Pudding
Now let’s dive into the fun part—bringing it all together!
- Preheat Your Equipment: Set up your saucepan on medium heat and have your whisk ready.
- Combine Ingredients: In the saucepan, whisk together sugar, cocoa powder, cornstarch, and salt. Slowly add milk while whisking to create a smooth mixture.
- Prepare Your Cooking Vessel: Keep the mixture on medium heat and continue whisking until it begins to thicken, about 5 to 7 minutes.
- Assemble the Dish: Once thickened, remove from heat. In a small bowl, whisk egg yolks, then temper them by slowly adding a bit of the hot mixture before returning it all to the pan.
- Cook to Perfection: Return to low heat and cook for 2 more minutes until fully thickened. Remove from heat and stir in butter and vanilla.
- Finishing Touches: Pour pudding into serving dishes. Press plastic wrap directly on top to prevent skin from forming.
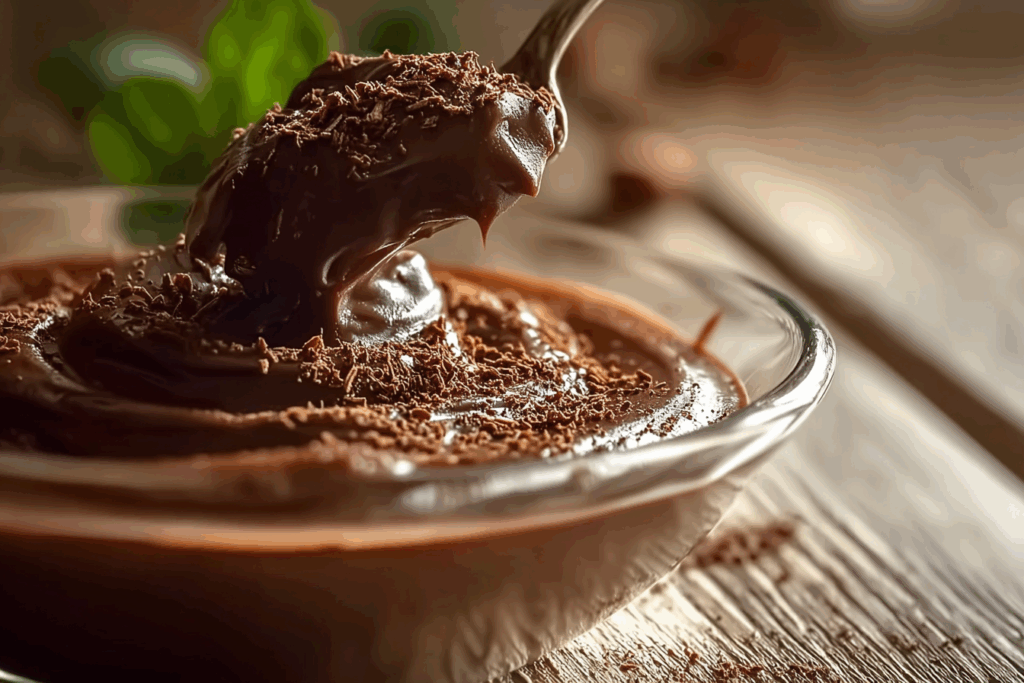
- Serve and Enjoy: Chill for at least 2 hours or serve warm with whipped cream and chocolate shavings.
Texture & Flavor Secrets
This pudding has the ideal balance—smooth, creamy, and slightly dense. The cornstarch ensures it’s thick enough to hold its shape, while the butter and egg yolks give it that luxurious mouthfeel. The chocolate flavor develops beautifully as it chills, deepening in richness over time.
Cooking Tips & Tricks
Here are a few helpful hints to guarantee success every time:
- Whisk continuously to avoid lumps.
- Use fresh milk for the best flavor.
- For extra indulgence, fold in melted chocolate at the end.
What to Avoid
Don’t worry, mistakes are easy to fix!
- Avoid overheating—it can cause the eggs to scramble.
- Don’t skip tempering the yolks—they ensure smooth texture.
- Don’t let it sit uncovered or a film will form on top.
Nutrition Facts
Servings: 4
Calories per serving: 280
Note: These are approximate values.
Preparation Time
Prep Time: 5 minutes
Cook Time: 15 minutes
Total Time: 20 minutes
Make-Ahead and Storage Tips
Homemade chocolate pudding keeps beautifully. You can make it a day in advance, store it covered in the fridge for up to 4 days, and even freeze it for up to a month. When ready to serve, thaw in the fridge and whisk to restore its creamy texture.
How to Serve Homemade Chocolate Pudding
Serve it in elegant glass cups with a swirl of whipped cream and chocolate curls. Pair it with fresh berries or a drizzle of caramel sauce for a touch of brightness.
Creative Leftover Transformations
Turn leftovers into new treats:
- Use as a cake filling for a decadent twist.
- Layer with crushed cookies for an easy parfait.
- Freeze portions for quick mini chocolate pops.
Additional Tips
A pinch of espresso powder can intensify the chocolate flavor. For a lighter pudding, use 2% milk instead of whole. And always taste before chilling—you can adjust sweetness or add a hint of cinnamon for warmth.
Make It a Showstopper
Garnish each serving with whipped cream rosettes, chocolate curls, or a dusting of cocoa powder. Serve in clear glassware so the rich, glossy layers shine through.
Variations to Try
- Dark Chocolate Pudding: Add 2 ounces of melted dark chocolate for an intense flavor.
- Mocha Pudding: Mix in 1 teaspoon of instant coffee granules.
- Peanut Butter Chocolate Pudding: Stir in 2 tablespoons of creamy peanut butter before chilling.
- Mint Chocolate Pudding: Add 1/4 teaspoon of peppermint extract for a refreshing twist.
- Coconut Chocolate Pudding: Replace milk with coconut milk for tropical flair.
FAQ’s
Q1: Can I make this pudding without eggs?
A1: Yes, just increase the cornstarch to 4 tablespoons for a similar texture.
Q2: How long does it take to set?
A2: It thickens as it cools and fully sets in about 2 hours.
Q3: Can I use non-dairy milk?
A3: Absolutely! Almond or oat milk both work well.
Q4: What’s the best cocoa to use?
A4: Choose unsweetened, high-quality cocoa for a rich taste.
Q5: Can I double the recipe?
A5: Yes, simply double all ingredients but cook in a larger pan.
Q6: How do I fix lumpy pudding?
A6: Blend it with a hand mixer until smooth.
Q7: Can I add melted chocolate?
A7: Definitely—it adds extra depth and silkiness.
Q8: How long does it last in the fridge?
A8: Up to 4 days when covered tightly.
Q9: Can I make it sugar-free?
A9: Substitute sugar with your favorite low-calorie sweetener.
Q10: Why did my pudding turn watery?
A10: It likely wasn’t cooked long enough for the cornstarch to activate fully.
Conclusion
There you have it—simple, smooth, and utterly satisfying Homemade Chocolate Pudding. It’s a dessert that feels nostalgic yet special every single time. So grab your whisk, melt into the moment, and savor every chocolatey bite. Let me tell you, it’s worth every spoonful
Print
Homemade Chocolate Pudding
- Prep Time: 5 minutes
- Cook Time: 15 minutes
- Total Time: 20 minutes
- Yield: 4 servings
- Category: Dessert
- Method: Stovetop
- Cuisine: American
- Diet: Vegetarian
Description
A creamy, rich, and velvety homemade chocolate pudding that melts in your mouth. Made with simple ingredients, this comforting dessert is easy to prepare and perfect for any occasion.
Ingredients
- Granulated sugar: 1/2 cup
- Unsweetened cocoa powder: 1/3 cup
- Cornstarch: 3 tablespoons
- Salt: 1/4 teaspoon
- Whole milk: 2 3/4 cups
- Egg yolks: 2 large
- Unsalted butter: 2 tablespoons
- Vanilla extract: 1 teaspoon
Instructions
- Preheat Your Equipment: Set up your saucepan on medium heat and have your whisk ready.
- Combine Ingredients: In the saucepan, whisk together sugar, cocoa powder, cornstarch, and salt. Slowly add milk while whisking to create a smooth mixture.
- Prepare Your Cooking Vessel: Keep the mixture on medium heat and continue whisking until it begins to thicken, about 5 to 7 minutes.
- Assemble the Dish: Once thickened, remove from heat. In a small bowl, whisk egg yolks, then temper them by slowly adding a bit of the hot mixture before returning it all to the pan.
- Cook to Perfection: Return to low heat and cook for 2 more minutes until fully thickened. Remove from heat and stir in butter and vanilla.
- Finishing Touches: Pour pudding into serving dishes. Press plastic wrap directly on top to prevent skin from forming.
- Serve and Enjoy: Chill for at least 2 hours or serve warm with whipped cream and chocolate shavings.
Notes
- Whisk constantly while cooking to prevent lumps.
- Use high-quality cocoa for deeper flavor.
- Press plastic wrap on the surface to prevent a skin from forming.
- Add a pinch of espresso powder to intensify the chocolate taste.
Nutrition
- Serving Size: 1 cup
- Calories: 280
- Sugar: 30g
- Sodium: 160mg
- Fat: 10g
- Saturated Fat: 6g
- Unsaturated Fat: 3g
- Trans Fat: 0g
- Carbohydrates: 42g
- Fiber: 2g
- Protein: 6g
- Cholesterol: 90mg