
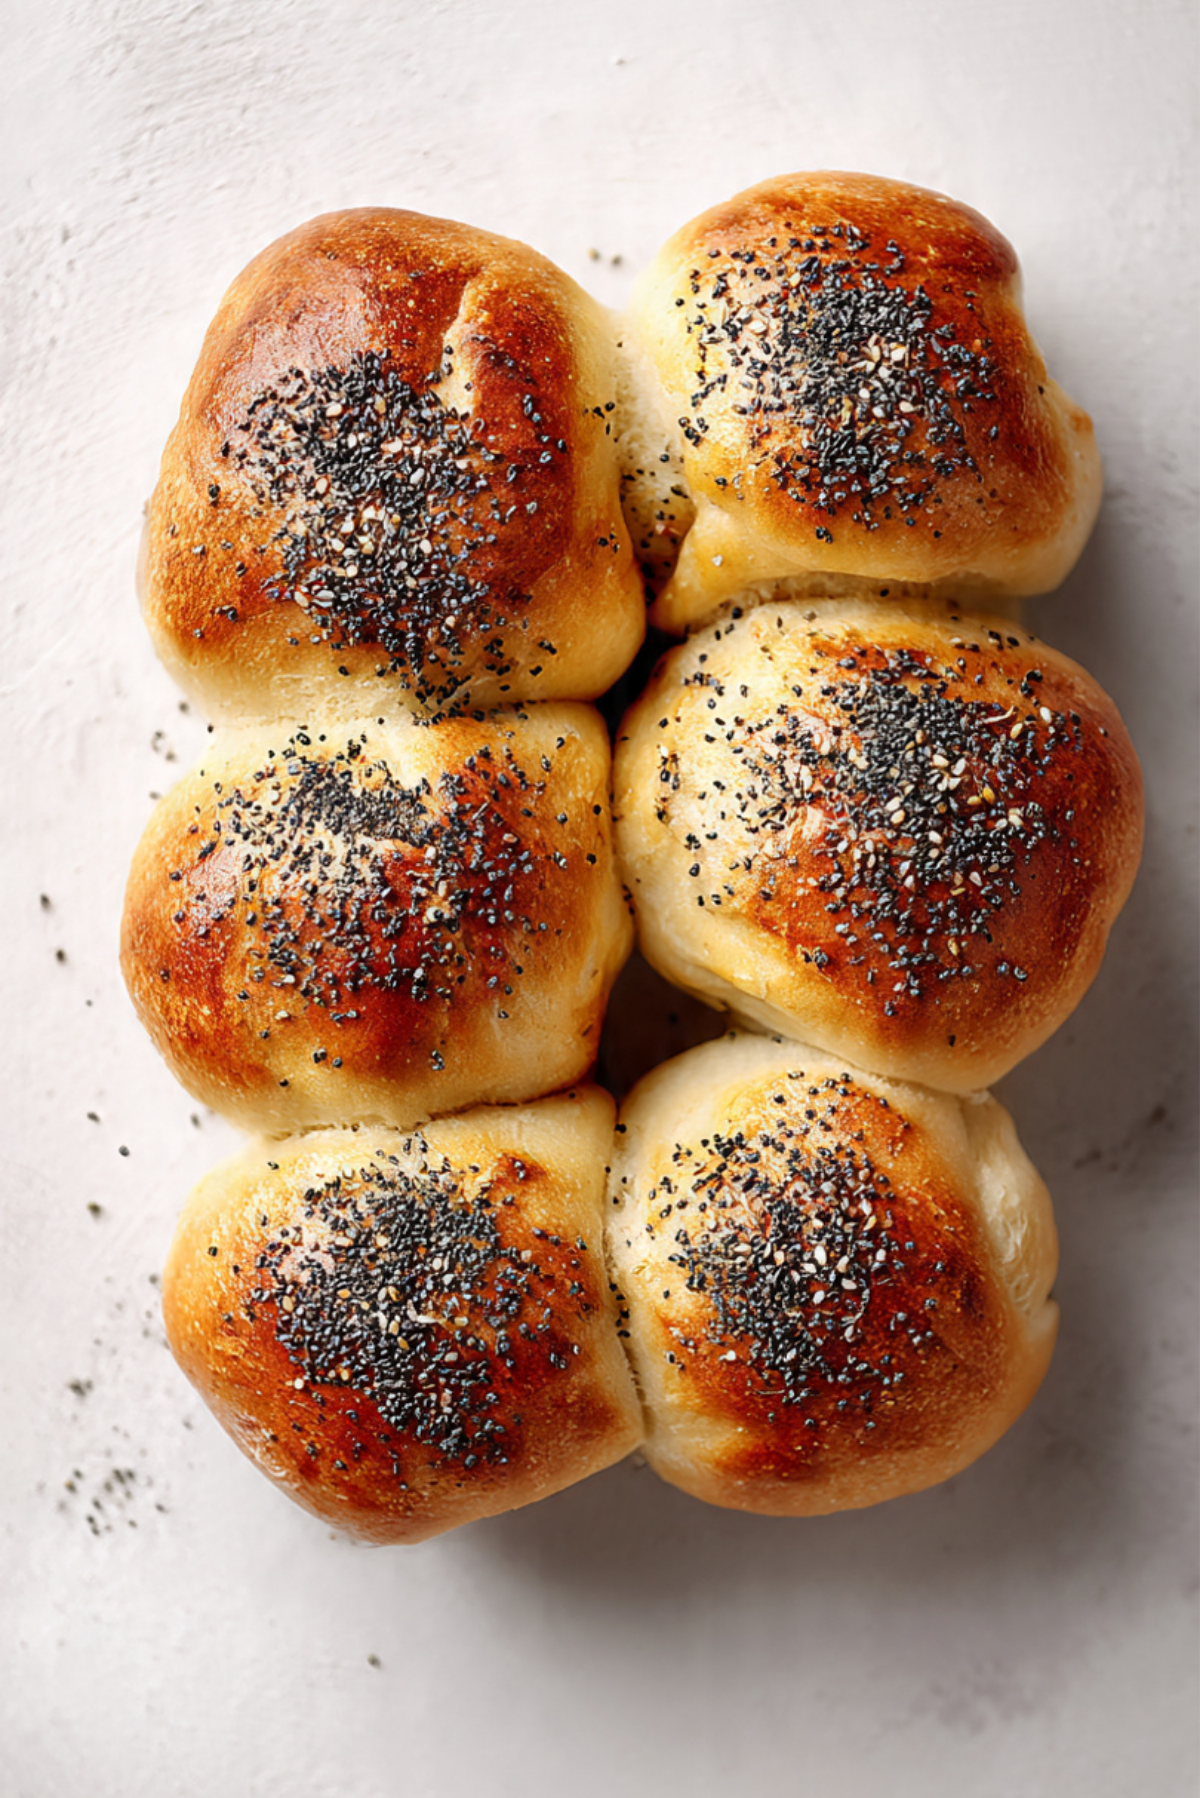
There is something almost magical about pulling a tray of freshly baked Danish poppy seed rolls from the oven. The scent of warm yeast, melted butter, and toasted poppy seeds fills the kitchen in the most comforting way. The golden tops glisten ever so slightly, and when you gently tear one open, that soft, fluffy crumb stretches and steams in your hands. Trust me, you’re going to love this. These rolls are tender, lightly sweet, and perfect with a smear of butter or your favorite jam. Let me tell you, it’s worth every bite.
A Little Taste of Danish Baking Tradition
Baking in Denmark is deeply rooted in everyday life. Bread and rolls are not just side dishes, they are part of the rhythm of the day. Morning coffee often comes with fresh rolls, and poppy seeds are a classic topping that adds both texture and a subtle nutty flavor.
These rolls reflect that beautiful simplicity. They are not overly sweet, not overly rich, just perfectly balanced. The poppy seeds bring a delicate crunch that contrasts with the pillowy interior, and that combination is what makes them so timeless.
Why These Rolls Belong in Your Kitchen
Before we dive into the details, let me share why this one’s a total game-changer for home bakers.
Versatile: These rolls work for breakfast, brunch, or as a side to soups and salads. They are just as good with sweet toppings as they are with savory spreads.
Budget-Friendly: The ingredients are simple pantry staples like flour, yeast, milk, and butter, which makes this recipe easy on the wallet.
Quick and Easy: While there is some rising time, the hands-on work is straightforward and beginner-friendly.
Customizable: You can adjust the sweetness slightly or even add a touch of honey if you like a softer flavor profile.
Crowd-Pleasing: Soft inside, lightly crisp outside, and topped with poppy seeds, they look beautiful on any table.
Make-Ahead Friendly: You can prepare the dough in advance and bake fresh when needed.
Great for Leftovers: If you somehow have any left, they toast beautifully the next day.
Pro Baker Secrets for Perfect Results
Now let’s talk about how to make sure your rolls turn out bakery worthy every single time.
- Use lukewarm milk, not hot, to activate the yeast properly without killing it.
- Knead until the dough is smooth and elastic, which usually takes about 8 to 10 minutes by hand.
- Allow enough time for the dough to rise in a warm spot until doubled in size.
- Brush gently with milk before baking so the poppy seeds stick well and the tops brown evenly.
Essential Tools for a Smooth Baking Day
Having the right tools makes the whole process feel relaxed and enjoyable.
Mixing Bowl: A large bowl gives the dough space to rise comfortably.
Measuring Cups and Spoons: Accuracy helps maintain the perfect dough texture.
Baking Sheet: A sturdy sheet ensures even baking and golden bottoms.
Kitchen Towel: Used to cover the dough while it rises and keep it from drying out.
Ingredients You Will Need For These Danish Poppy Seed Rolls
The beauty of these rolls lies in how simple ingredients come together to create something so comforting and flavorful.
- All Purpose Flour: 4 cups or 500 grams, provides structure and that soft, airy crumb.
- Active Dry Yeast: 2 1/4 teaspoons or 7 grams, helps the dough rise and become fluffy.
- Warm Milk: 1 1/2 cups or 360 ml, adds richness and moisture.
- Unsalted Butter: 1/4 cup or 60 grams, melted, brings tenderness and flavor.
- Granulated Sugar: 2 tablespoons or 25 grams, lightly sweetens and feeds the yeast.
- Salt: 1 teaspoon or 6 grams, enhances flavor and balances sweetness.
- Egg: 1 large, adds richness and structure.
- Poppy Seeds: 2 tablespoons or 20 grams, sprinkled on top for texture and visual appeal.
Flexible Swaps If You Need Them
Sometimes you work with what you have, and that is perfectly fine.
All Purpose Flour: Bread flour for a slightly chewier texture.
Warm Milk: Warm water or a mix of water and milk if needed.
Unsalted Butter: Mild vegetable oil, though butter gives the best flavor.
Granulated Sugar: Honey in equal volume for a softer sweetness.
Spotlight on Key Ingredients
Some ingredients truly shine here and deserve a little extra love.
Active Dry Yeast: This is what gives the rolls their airy interior. When activated properly, it creates those delicate bubbles that make each bite so light.
Poppy Seeds: Tiny but powerful, they add a subtle nutty taste and that signature look that makes these rolls instantly recognizable.
Let’s Bake Together Step by Step
Now that everything is ready, and your kitchen smells faintly of anticipation, let’s dive into the process.
- Preheat Your Equipment: Preheat your oven to 375°F or 190°C and line a baking sheet with parchment paper.
- Combine Ingredients: In a large bowl, mix warm milk and sugar, then sprinkle in the yeast and let it sit for 5 to 10 minutes until foamy. Add melted butter, egg, salt, and gradually mix in the flour until a soft dough forms.
- Prepare Your Cooking Vessel: Transfer the dough to a lightly floured surface and knead for 8 to 10 minutes until smooth and elastic. Place it back in a greased bowl, cover with a towel, and let it rise for about 1 hour or until doubled.
- Assemble the Dish: Punch down the dough gently and divide it into 12 equal pieces. Shape each piece into a smooth ball and place them on the prepared baking sheet, spaced slightly apart.
- Cook to Perfection: Brush the tops lightly with a bit of milk, sprinkle generously with poppy seeds, and bake for 18 to 22 minutes until golden brown.
- Finishing Touches: Remove from the oven and let them cool slightly on a wire rack. The tops should feel lightly crisp while the inside stays soft.
- Serve and Enjoy: Serve warm with butter, jam, or simply on their own. Let me tell you, they disappear quickly.
Texture and Flavor That Steal the Show
What makes these rolls unforgettable is the contrast. The crust is lightly crisp and dotted with poppy seeds that give a gentle crunch. Inside, the crumb is soft, fluffy, and slightly sweet. As they bake, the butter melts into the dough, creating richness without heaviness. Every bite feels comforting and satisfying.
Helpful Baking Tips for Even Better Results
A few small adjustments can make a big difference.
- Let the dough rise fully, do not rush this step.
- If your kitchen is cool, place the dough near a warm oven to help it rise.
- Brush gently with milk for an even golden finish.
- Cool slightly before serving so the texture sets perfectly.
Common Mistakes and How to Avoid Them
Even simple recipes can go wrong, but here is how to stay on track.
- Using milk that is too hot, which can kill the yeast. Keep it lukewarm.
- Adding too much flour, which can make the rolls dense. Add gradually.
- Underbaking, which leaves the centers doughy. Bake until evenly golden.
A Quick Look at the Nutrition
Servings: 12 rolls
Calories per serving: 180
Note: These are approximate values.
Time Breakdown for Easy Planning
Prep Time: 20 minutes
Cook Time: 20 minutes
Total Time: 1 hour 40 minutes
Make Ahead and Storage Guide
If you want to plan ahead, you can prepare the dough and let it rise in the refrigerator overnight. Just bring it back to room temperature before shaping. Once baked, store the rolls in an airtight container at room temperature for up to 2 days. They also freeze well for up to 2 months. Reheat gently in the oven to bring back that fresh baked feel.
Serving Ideas to Make Them Shine
Serve these rolls warm alongside scrambled eggs and fresh fruit for a cozy breakfast. They also pair beautifully with creamy soups or a simple green salad. For a sweet treat, split them open and add butter and a drizzle of honey.
Creative Ways to Use Leftovers
Slice and toast them for a crunchy breakfast base. Turn them into mini sandwiches with cheese and fresh vegetables. You can even cube and bake them into a light bread pudding for something completely different.
Extra Tips for Flavor and Ease
Try adding a teaspoon of vanilla extract to the dough for a subtle aroma. Use fresh yeast for best rise if available. Always measure flour carefully by spooning it into the cup and leveling it off.
Turn Them Into a Showstopping Centerpiece
Arrange the rolls close together so they bake slightly touching, which creates soft sides and a beautiful pull apart effect. Brush lightly with melted butter after baking for a soft sheen and irresistible aroma.
Fun Variations to Explore
Add a teaspoon of cardamom to the dough for a Scandinavian twist.
Swap poppy seeds for sesame seeds for a different texture.
Add a sprinkle of coarse sugar on top for a sweet crunch.
Shape the dough into small knots for a decorative look.
FAQ’s
Q1: Can I use instant yeast instead of active dry yeast?
Yes, you can. Use the same amount and mix it directly with the flour.
Q2: Can I make the dough by hand?
Absolutely. It just takes a bit of kneading and patience.
Q3: How do I know when the rolls are done?
They should be golden brown on top and sound hollow when tapped underneath.
Q4: Can I freeze the dough before baking?
Yes, freeze after shaping, then thaw and let rise before baking.
Q5: Why did my rolls turn out dense?
It may be due to too much flour or insufficient rising time.
Q6: Can I make them dairy free?
You can use plant based milk and oil instead of butter.
Q7: How long do they stay fresh?
They are best the same day but stay soft for up to 2 days.
Q8: Can I double the recipe?
Yes, simply double all ingredients and bake in batches.
Q9: Do I need to toast the poppy seeds first?
No, they toast naturally in the oven.
Q10: Can I shape them differently?
Of course, try braids or knots for a fun presentation.
Conclusion
Baking these Danish poppy seed rolls feels like bringing a little piece of cozy Scandinavian tradition into your home. The process is simple, the ingredients are humble, and the result is pure comfort. Trust me, once you make them, they will become a regular in your kitchen. So preheat that oven, roll up your sleeves, and enjoy every warm, fluffy bite.
Print
Danish Poppy Seed Rolls
- Prep Time: 20 minutes
- Cook Time: 20 minutes
- Total Time: 1 hour 40 minutes
- Yield: 12 rolls
- Category: Bread
- Method: Baking
- Cuisine: Danish
- Diet: Vegetarian
Description
Soft and fluffy Danish poppy seed rolls with a lightly golden crust and delicate nutty crunch on top. Perfect for breakfast, brunch, or as a comforting side to soups and salads.
Ingredients
- 4 cups (500 g) all purpose flour
- 2 1/4 teaspoons (7 g) active dry yeast
- 1 1/2 cups (360 ml) warm milk
- 1/4 cup (60 g) unsalted butter, melted
- 2 tablespoons (25 g) granulated sugar
- 1 teaspoon (6 g) salt
- 1 large egg
- 2 tablespoons (20 g) poppy seeds
Instructions
- Preheat oven to 375°F (190°C) and line a baking sheet with parchment paper.
- In a large bowl, mix warm milk and sugar. Sprinkle yeast on top and let sit for 5 to 10 minutes until foamy.
- Add melted butter, egg, and salt. Gradually mix in flour until a soft dough forms.
- Knead the dough on a lightly floured surface for 8 to 10 minutes until smooth and elastic.
- Place dough in a greased bowl, cover, and let rise for about 1 hour or until doubled in size.
- Punch down the dough and divide into 12 equal pieces. Shape into smooth balls and place on prepared baking sheet.
- Brush tops lightly with milk and sprinkle evenly with poppy seeds.
- Bake for 18 to 22 minutes until golden brown.
- Cool slightly on a wire rack before serving.
Notes
- Make sure the milk is lukewarm, not hot, to properly activate the yeast.
- If your kitchen is cool, let the dough rise in a slightly warm oven turned off.
- Store in an airtight container at room temperature for up to 2 days.
- Freeze baked rolls for up to 2 months and reheat gently before serving.
Nutrition
- Serving Size: 1 roll
- Calories: 180
- Sugar: 3 g
- Sodium: 180 mg
- Fat: 5 g
- Saturated Fat: 3 g
- Unsaturated Fat: 2 g
- Trans Fat: 0 g
- Carbohydrates: 28 g
- Fiber: 1 g
- Protein: 5 g
- Cholesterol: 25 mg