
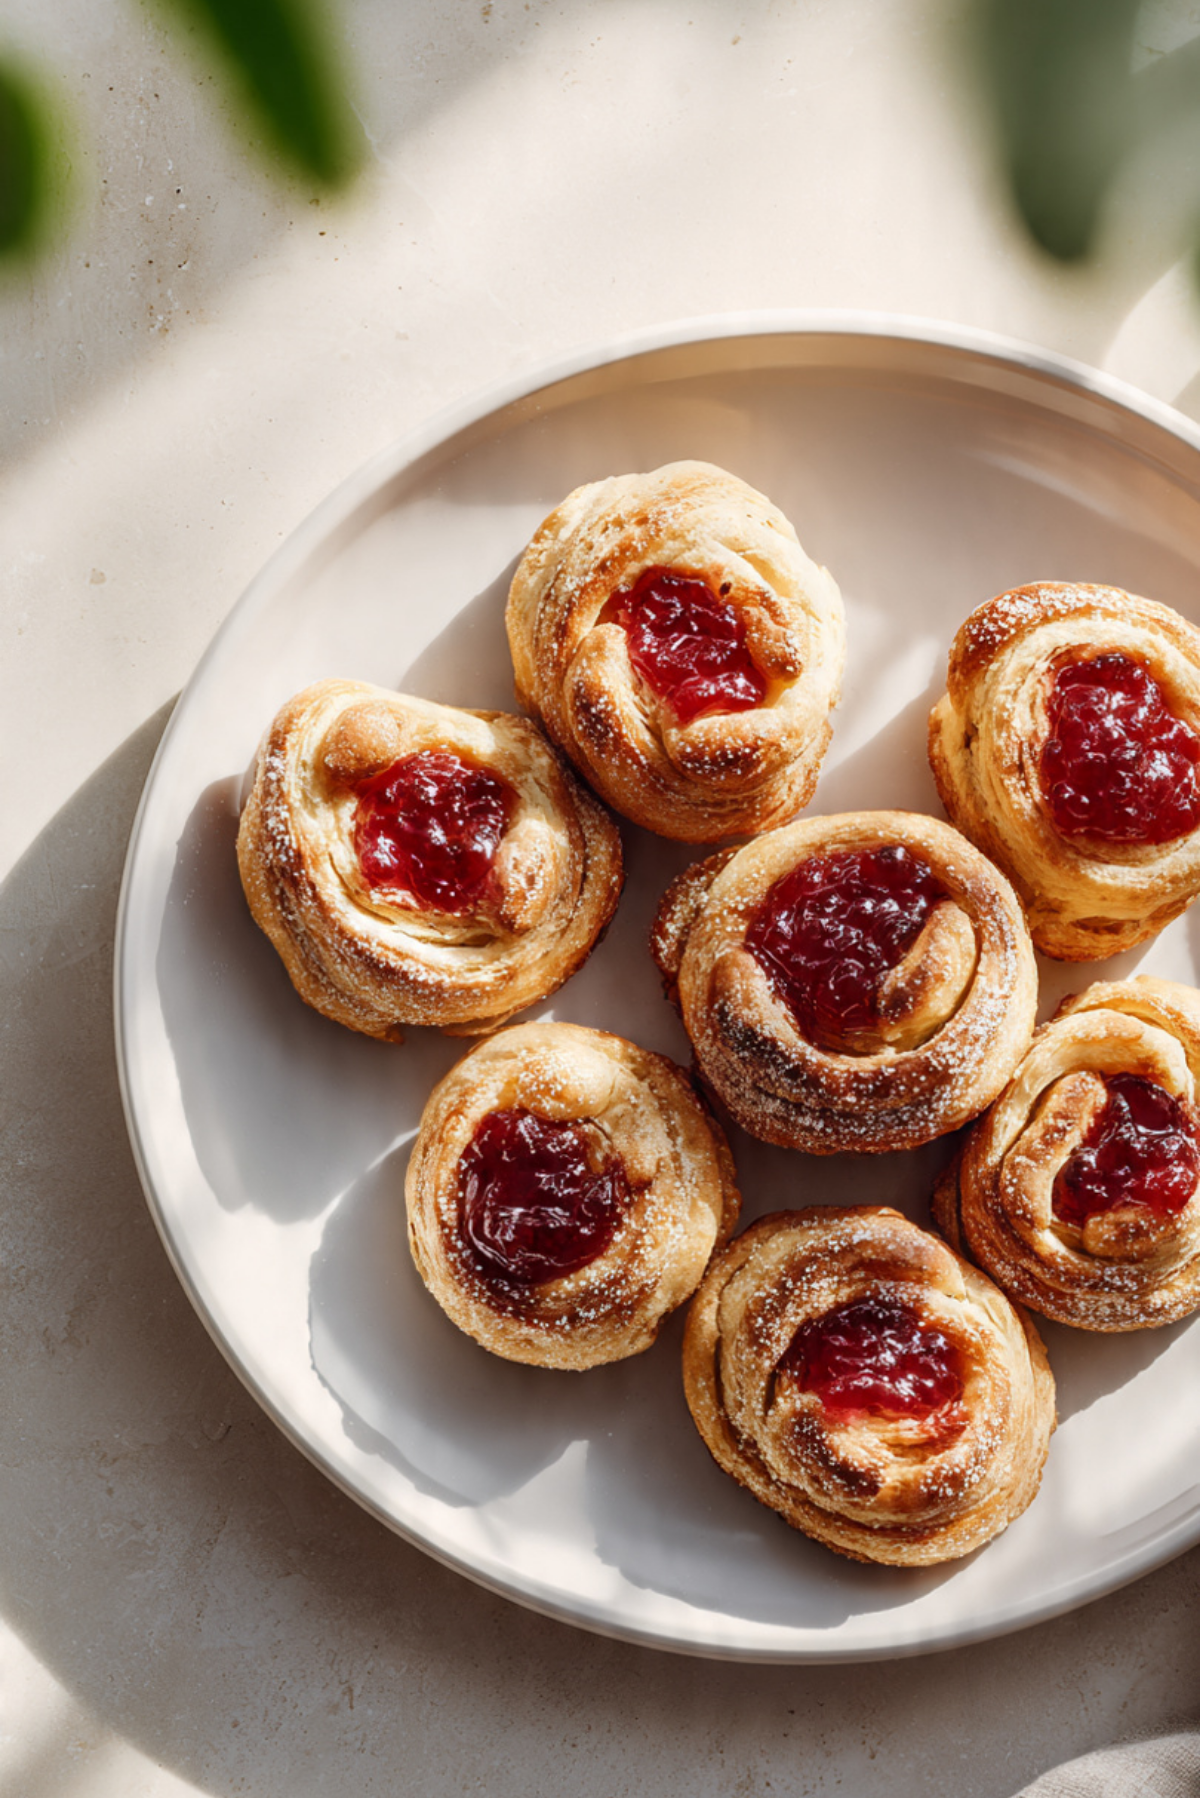
There is something magical about pulling a tray of golden, flaky Danish pastries from the oven, especially when you know the jam tucked inside is homemade. The smell alone is enough to gather everyone into the kitchen. Warm butter, sweet fruit, and that delicate crispness that shatters slightly when you take a bite. Trust me, you’re going to love this. This one’s a total game-changer for slow mornings or cozy afternoon coffee breaks, and let me tell you, it’s worth every bite.
Why This Pastry Feels Like a Little Luxury at Home
There is a reason these pastries feel so special. Each layer of buttery dough puffs and crisps in the oven, creating a light texture that almost melts on your tongue. The homemade jam adds a bright, fruity sweetness that balances the richness perfectly. It looks impressive, tastes even better, and somehow makes an ordinary day feel like a celebration.
And now that you can almost smell that warm pastry through the screen, let’s talk about where this beauty comes from.
A Taste of Danish Baking Tradition
Danish pastries, known as wienerbrød in Denmark, have a fascinating history. They were inspired by Austrian bakers who introduced laminated dough techniques to Denmark in the 19th century. Over time, Danish bakers added their own touch, creating the sweet, fruit-filled pastries we adore today.
Traditionally enjoyed with coffee, these pastries are part of everyday life in Denmark. Bakeries display rows of glossy, fruit-topped creations that draw you in instantly. By making them at home, you are bringing a little piece of that tradition into your own kitchen.
And once you realize how achievable they are, you will want to bake them again and again.
Why This Recipe Works Every Time
There is something comforting about a recipe you can rely on, and this one delivers on every level.
Versatile: You can switch up the jam flavors depending on the season or what you have on hand. Strawberry, raspberry, or even apricot all work beautifully.
Budget-Friendly: Simple pantry ingredients and basic fruit transform into something bakery worthy without the high price tag.
Quick and Easy: Using ready made puff pastry keeps the process simple while still giving you that flaky texture.
Customizable: Add a drizzle of icing or a sprinkle of sliced almonds to make it your own.
Crowd-Pleasing: These disappear fast at brunch tables and family gatherings.
Make-Ahead Friendly: You can prepare the jam in advance and assemble the pastries when you are ready to bake.
Great for Leftovers: If there are any, they reheat beautifully and taste amazing the next day.
Now that you know why this one is so dependable, let’s talk about making it truly exceptional.
Pro Tips for Flaky, Buttery Perfection
Before we jump into tools and ingredients, here are a few insider secrets.
- Keep the puff pastry cold at all times, this helps create distinct flaky layers.
- Do not overfill the center with jam, a small spoonful is enough.
- Bake until deeply golden, pale pastries will not have the same crisp texture.
- Let them cool slightly before adding icing so it does not melt away completely.
With those tips in mind, let’s gather what you need.
Kitchen Tools That Make It Easy
Having the right tools makes everything smoother and more enjoyable.
Baking Sheet: Provides even heat and enough space for the pastries to puff properly.
Parchment Paper: Prevents sticking and makes cleanup effortless.
Rolling Pin: Helps gently smooth the pastry if needed.
Small Saucepan: Perfect for simmering the homemade jam.
Pastry Brush: Useful for applying egg wash evenly.
Now let’s talk ingredients, because this is where the magic really begins.
Ingredients You Will Need For This Danish Pastry with Homemade Jam
The beauty of this dish lies in simple ingredients working together in perfect harmony.
- Puff Pastry Sheets: 2 sheets, about 500 grams total, thawed but still cold. These create the flaky, layered base.
- Fresh Strawberries: 2 cups, about 300 grams, chopped. They provide natural sweetness and vibrant color for the jam.
- Granulated Sugar: 1/3 cup, about 65 grams. Sweetens the jam and balances the fruit.
- Lemon Juice: 1 tablespoon, freshly squeezed. Brightens the flavor and helps set the jam.
- Cornstarch: 1 teaspoon mixed with 1 tablespoon water. Thickens the jam to the perfect consistency.
- Egg: 1 large, beaten. Used for egg wash to give the pastry a glossy finish.
- Powdered Sugar: 1/2 cup, about 60 grams. For a simple glaze.
- Milk: 1 to 2 tablespoons. Mixed with powdered sugar for the icing.
And just like that, you have everything ready to create something special.
Easy Ingredient Swaps If You Need Them
Sometimes you work with what you have, and that is perfectly fine.
Strawberries: Raspberries or blueberries work just as well.
Granulated Sugar: Coconut sugar can be used, though it will slightly change the flavor.
Milk: You can use any plant based milk for the glaze.
Now let’s highlight the stars of the show.
Spotlight on Key Ingredients
Puff Pastry: This laminated dough is the heart of the dish. When baked, it creates delicate layers that puff up beautifully and turn golden and crisp.
Fresh Strawberries: Their natural sweetness and slight tartness create a jam that tastes fresh and vibrant, far better than store bought.
And now, let’s dive into the cooking process.
Let’s Bake These Beautiful Pastries
This is where everything comes together, and the kitchen starts to smell incredible.
- Preheat Your Equipment: Preheat your oven to 200°C, which is 400°F. Line a baking sheet with parchment paper.
- Combine Ingredients: In a small saucepan, combine chopped strawberries, sugar, and lemon juice. Cook over medium heat for about 8 minutes until softened. Stir in the cornstarch mixture and cook for 1 to 2 more minutes until thickened. Let the jam cool completely.
- Prepare Your Cooking Vessel: Unfold the puff pastry sheets on a lightly floured surface. Cut each sheet into 6 equal squares.
- Assemble the Dish: Fold the corners of each square slightly toward the center to create a small border. Place a spoonful of cooled jam in the center of each square. Brush the edges with beaten egg.
- Cook to Perfection: Arrange the pastries on the prepared baking sheet and bake for 15 to 18 minutes until puffed and golden brown.
- Finishing Touches: Mix powdered sugar with milk until smooth. Drizzle lightly over slightly cooled pastries.
- Serve and Enjoy: Serve warm or at room temperature. Pair with coffee or tea for the ultimate treat.
A Symphony of Texture and Flavor
When you bite into one, the outer layers are crisp and delicate, giving way to soft, airy pastry beneath. The jam is slightly thick, glossy, and bursting with fruity flavor. The sweet glaze on top adds just a hint of extra sweetness without overpowering the fruit. Every element works together in perfect balance.
Helpful Tips for Even Better Results
If you want to elevate things even more, keep these in mind.
- Chill assembled pastries for 10 minutes before baking for extra lift.
- Use a sharp knife when cutting pastry to avoid sealing the layers.
- Rotate the baking sheet halfway through for even browning.
Common Mistakes and How to Avoid Them
It happens to all of us, but these are easy to fix.
- Overfilling with jam, which can cause leaking. Use just one tablespoon per pastry.
- Baking at too low a temperature, which prevents proper puffing. Make sure the oven is fully preheated.
- Skipping cooling time for the jam, which can make the pastry soggy.
Nutrition Highlights You Should Know
Servings: 12 pastries
Calories per serving: 220
Note: These are approximate values.
Time Breakdown at a Glance
Prep Time: 25 minutes
Cook Time: 18 minutes
Total Time: 43 minutes
Make-Ahead and Storage Tips for Busy Days
You can prepare the jam up to three days in advance and store it in the refrigerator. Baked pastries can be kept in an airtight container at room temperature for two days. For longer storage, freeze them without glaze and reheat in the oven at 180°C, which is 350°F, until warmed through.
Serving Ideas That Feel Special
Serve these pastries on a simple white platter with fresh berries on the side. They pair beautifully with strong coffee or a creamy latte. For brunch, add yogurt and fresh fruit to create a complete spread.
Creative Leftover Transformations
If you somehow have leftovers, try warming one and serving it with a scoop of vanilla ice cream. You can also slice them in half and use them as a sweet base for a breakfast sandwich with cream cheese and extra fruit.
Extra Tips for Flavor and Freshness
Brush the baked pastries with a little warm apricot jam before glazing for extra shine. Always use ripe fruit for the jam to get the best natural sweetness.
Make It a Showstopper on the Table
Dust lightly with powdered sugar just before serving for a bakery style finish. Arrange them slightly overlapping on a platter to highlight their golden layers and glossy centers.
Variations to Try Next Time
- Add a spoonful of cream cheese under the jam for a richer filling.
- Use mixed berries for a deeper, more complex flavor.
- Sprinkle sliced almonds on top before baking for added crunch.
- Add a touch of vanilla extract to the jam for extra warmth.
FAQ’s
Q1: Can I use store bought jam instead?
Yes, you can, but homemade jam gives a fresher flavor and better texture.
Q2: Can I freeze unbaked pastries?
Yes, assemble them and freeze on a tray, then bake from frozen adding a few extra minutes.
Q3: Why did my pastry not puff?
It may have been too warm before baking or the oven was not hot enough.
Q4: Can I make them smaller?
Absolutely, just adjust baking time slightly.
Q5: How do I know when they are done?
They should be deeply golden and crisp to the touch.
Q6: Can I use frozen strawberries?
Yes, thaw and drain excess liquid before cooking.
Q7: Is it necessary to use egg wash?
It helps create shine and color, but you can skip it if needed.
Q8: Can I make them dairy free?
Use plant based milk for the glaze and ensure the pastry is dairy free.
Q9: What if my jam is too runny?
Cook it a bit longer or add a little more cornstarch slurry.
Q10: Can I add spices?
A pinch of cinnamon in the jam adds warmth and depth.
Conclusion
Baking Danish Pastry with Homemade Jam at home is easier than you think, and the reward is pure comfort wrapped in flaky layers. The smell, the texture, the sweet fruit center, it all comes together in a way that feels both nostalgic and special. So go ahead, preheat that oven and treat yourself. You deserve something this delicious.
Print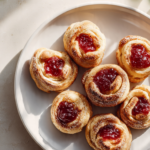
Danish Pastry with Homemade Jam
- Prep Time: 25 minutes
- Cook Time: 18 minutes
- Total Time: 43 minutes
- Yield: 12 pastries
- Category: Dessert
- Method: Baking
- Cuisine: Danish
- Diet: Vegetarian
Description
Golden, flaky Danish pastries filled with sweet homemade strawberry jam and finished with a light glaze. Perfect for brunch, coffee breaks, or a cozy homemade treat.
Ingredients
- 2 puff pastry sheets, about 500 grams total, thawed but still cold
- 2 cups fresh strawberries, about 300 grams, chopped
- 1/3 cup granulated sugar, about 65 grams
- 1 tablespoon fresh lemon juice
- 1 teaspoon cornstarch mixed with 1 tablespoon water
- 1 large egg, beaten
- 1/2 cup powdered sugar, about 60 grams
- 1 to 2 tablespoons milk
Instructions
- Preheat oven to 200°C or 400°F and line a baking sheet with parchment paper.
- In a small saucepan, combine chopped strawberries, granulated sugar, and lemon juice. Cook over medium heat for about 8 minutes until softened. Stir in the cornstarch mixture and cook for 1 to 2 minutes more until thickened. Let the jam cool completely.
- Unfold the puff pastry sheets on a lightly floured surface and cut each sheet into 6 equal squares.
- Fold the corners of each square slightly toward the center to create a border. Add 1 tablespoon of cooled jam to the center of each square and brush the edges with beaten egg.
- Place pastries on the prepared baking sheet and bake for 15 to 18 minutes until puffed and golden brown.
- Mix powdered sugar with 1 to 2 tablespoons milk until smooth and drizzle over slightly cooled pastries.
- Serve warm or at room temperature.
Notes
- Keep puff pastry cold before baking to ensure flaky layers.
- Do not overfill with jam to prevent leaking.
- Chill assembled pastries for 10 minutes before baking for extra lift.
- Store leftovers in an airtight container at room temperature for up to 2 days.
Nutrition
- Serving Size: 1 pastry
- Calories: 220
- Sugar: 12g
- Sodium: 150mg
- Fat: 12g
- Saturated Fat: 5g
- Unsaturated Fat: 6g
- Trans Fat: 0g
- Carbohydrates: 25g
- Fiber: 1g
- Protein: 3g
- Cholesterol: 25mg