
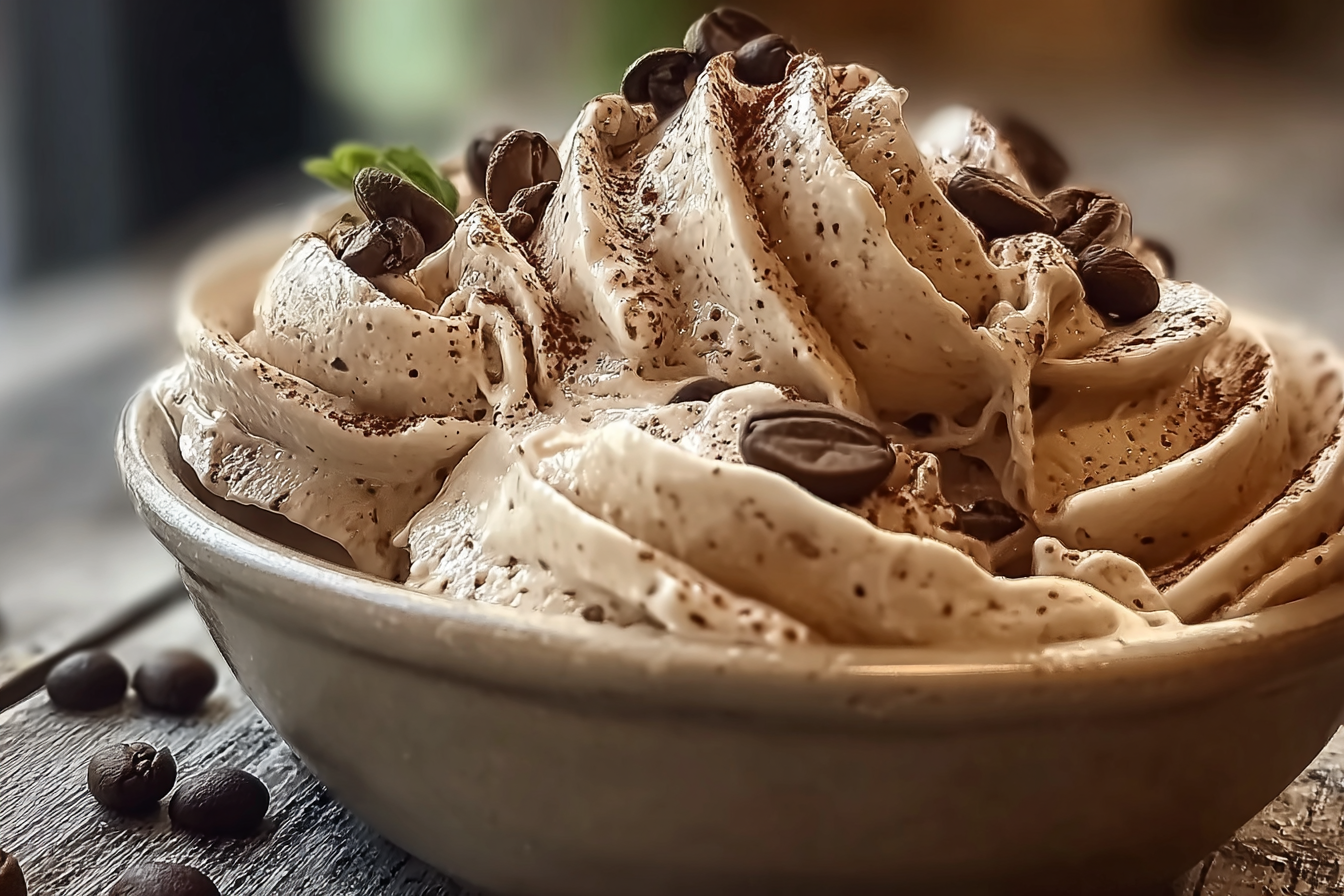
There’s something utterly magical about the first spoonful of coffee ice cream. The smooth, velvety texture melts gently across your tongue, carrying with it the bold yet mellow notes of roasted coffee, balanced perfectly with creamy sweetness. It’s both a pick-me-up and a comfort in one scoop, and trust me, you’re going to love this one. Every bite feels like a little luxury, whether you’re enjoying it on a hot afternoon or as a decadent after-dinner treat.
Behind the Recipe
Coffee ice cream has always felt like a grown-up treat with a touch of nostalgia. I still remember sneaking spoonfuls from my parents’ ice cream tub, mesmerized by its rich flavor that seemed so sophisticated compared to vanilla or chocolate. It’s the kind of dessert that instantly transports you to a cozy café, where the aroma of freshly brewed coffee lingers in the air.
Recipe Origin or Trivia
The love story between coffee and ice cream goes back centuries. Coffee itself originated in Ethiopia and spread globally through bustling trade routes, eventually becoming a beloved beverage across Europe. By the 18th century, Europeans were already experimenting with turning coffee into frozen treats. Today, coffee ice cream is a favorite worldwide, especially in Italy, where gelaterias proudly showcase it alongside classics like pistachio and stracciatella.
Why You’ll Love Coffee Ice Cream
This recipe isn’t just about flavor, it’s about creating an experience you’ll crave again and again.
Versatile: Enjoy it as a scoop on its own, sandwiched between cookies, or topped with chocolate sauce for an indulgent sundae.
Budget-Friendly: Made with simple pantry staples, it’s far cheaper than store-bought gourmet pints.
Quick and Easy: With just a bit of whisking and churning, you’ll have ice cream ready to freeze in no time.
Customizable: Adjust the coffee strength to your taste, or swirl in chocolate chips, caramel, or even crushed cookies.
Crowd-Pleasing: Both coffee lovers and ice cream enthusiasts will be lining up for seconds.
Make-Ahead Friendly: Prepare it a day in advance and have dessert waiting, stress-free.
Great for Leftovers: If any remains, you can repurpose it into affogatos or milkshakes.
Print
Coffee Ice Cream
- Prep Time: 15 minutes
- Cook Time: 20 minutes
- Total Time: 6 hours
- Yield: 8 servings
- Category: Dessert
- Method: Churned custard
- Cuisine: American
- Diet: Vegetarian
Description
Silky, café-worthy coffee ice cream with a rich espresso backbone and a lush custard base that churns into creamy, scoopable perfection.
Ingredients
- 2 cups heavy cream
- 1 cup whole milk
- 3/4 cup granulated sugar
- 4 large egg yolks
- 1 cup strong brewed coffee or espresso, cooled
- 1 teaspoon vanilla extract
- 1/4 teaspoon fine sea salt
Instructions
- Place the ice cream maker bowl in the freezer overnight so it is completely chilled.
- In a medium saucepan, whisk together the milk, heavy cream, sugar, and brewed coffee, then warm over medium heat until steaming, not boiling.
- In a separate bowl, whisk the egg yolks until slightly thickened and pale. Slowly ladle in about 1 cup of the hot coffee mixture while whisking constantly to temper the yolks.
- Pour the tempered yolk mixture back into the saucepan. Cook over medium heat, stirring with a spatula, until the custard thickens enough to coat the back of the spoon.
- Strain the custard through a fine mesh sieve into a clean bowl. Stir in the vanilla extract and salt. Cover and refrigerate until thoroughly chilled, at least 4 hours.
- Churn the chilled custard in an ice cream maker according to the manufacturer’s instructions until soft serve consistency.
- Transfer to a lidded container and freeze until firm, at least 4 hours, then scoop and enjoy.
Notes
- Note: For a bolder coffee profile, whisk in 1 teaspoon instant espresso powder after straining the custard.
- Fold in finely shaved dark chocolate or crushed chocolate-covered espresso beans during the last minute of churning for texture.
- Chill the custard completely before churning to avoid icy texture.
Nutrition
- Serving Size: 1/2 cup
- Calories: 250
- Sugar: 20g
- Sodium: 65mg
- Fat: 16g
- Saturated Fat: 10g
- Unsaturated Fat: 5g
- Trans Fat: 0g
- Carbohydrates: 22g
- Fiber: 0g
- Protein: 4g
- Cholesterol: 140mg
Chef’s Pro Tips for Perfect Results
Getting the silkiest, most flavorful coffee ice cream comes down to a few simple secrets.
- Always use freshly brewed strong coffee or espresso for a bold, aromatic flavor.
- Chill your mixture thoroughly before churning to ensure smooth freezing.
- Don’t rush the custard base — cook it gently to avoid curdling.
- For extra creaminess, add a tablespoon of corn syrup or honey to the mix.
- If you prefer stronger notes, fold in a teaspoon of instant espresso powder before freezing.
Kitchen Tools You’ll Need
To make this recipe as smooth as possible, here’s what you’ll want by your side.
Saucepan: For cooking the custard base gently.
Mixing Bowls: To whisk and combine your ingredients.
Whisk: Essential for blending egg yolks and sugar smoothly.
Ice Cream Maker: Creates that creamy, airy texture.
Measuring Cups and Spoons: Accuracy is key for balance.
Fine Mesh Strainer: Helps remove any lumps from the custard.
Ingredients in Coffee Ice Cream
Each ingredient plays a vital role, weaving together flavor and texture into one harmonious scoop.
- Heavy Cream: 2 cups to provide richness and velvety texture.
- Whole Milk: 1 cup to balance the cream and prevent heaviness.
- Granulated Sugar: 3/4 cup to sweeten and highlight the coffee notes.
- Egg Yolks: 4 large to create a luscious custard base.
- Strong Brewed Coffee or Espresso: 1 cup for that bold, aromatic flavor.
- Vanilla Extract: 1 teaspoon to round out and soften the flavor.
- Salt: 1/4 teaspoon to enhance the sweetness and complexity.
Ingredient Substitutions
Sometimes you need a swap, and that’s perfectly fine.
Whole Milk: Use 2% milk for a slightly lighter version.
Granulated Sugar: Try brown sugar for a deeper, caramel-like sweetness.
Heavy Cream: Coconut cream makes a dairy-free alternative.
Vanilla Extract: Almond extract for a nutty twist.
Coffee: Decaf coffee for those avoiding caffeine.
Ingredient Spotlight
Coffee: The star of this recipe, it infuses the ice cream with its deep, roasted aroma and smooth bitterness, making every bite feel indulgent.
Egg Yolks: They don’t just thicken the custard, they add that unmistakable creamy mouthfeel that makes homemade ice cream superior to most store-bought versions.
Instructions for Making Coffee Ice Cream
Now let’s dive into the fun part: bringing this dreamy ice cream to life.
- Preheat Your Equipment: Place your ice cream maker bowl in the freezer overnight to ensure it’s properly chilled.
- Combine Ingredients: In a saucepan, heat the milk, cream, sugar, and brewed coffee until steaming but not boiling.
- Prepare Your Cooking Vessel: In a bowl, whisk egg yolks until pale. Slowly pour a ladle of the hot mixture into the yolks, whisking constantly to temper them.
- Assemble the Dish: Return the yolk mixture to the saucepan and cook gently over medium heat, stirring until it thickens to coat the back of a spoon.
- Cook to Perfection: Strain the custard through a fine mesh sieve into a clean bowl, stir in vanilla and salt, then let it cool completely in the refrigerator.
- Finishing Touches: Once chilled, churn in an ice cream maker according to the manufacturer’s instructions.
- Serve and Enjoy: Transfer to a container, freeze for at least 4 hours, then scoop and savor.
Texture & Flavor Secrets
The beauty of this recipe lies in its balance: the custard base gives a silky texture, while the bold coffee creates depth and warmth. The slight bitterness of coffee contrasts perfectly with the sweetness, giving a layered flavor that keeps each spoonful interesting.
Cooking Tips & Tricks
Little adjustments can make your ice cream even better.
- Use full-fat dairy for the richest texture.
- Always cool your custard thoroughly before churning.
- For an elegant twist, fold in shaved dark chocolate before freezing.
What to Avoid
Even the best recipes can go wrong without a little care.
- Don’t let the custard boil, it will curdle the eggs.
- Don’t skip chilling before churning, or the texture will turn icy.
- Don’t use weak coffee, as the flavor will fade once frozen.
Nutrition Facts
Servings: 8
Calories per serving: 250
Note: These are approximate values.
Preparation Time
Prep Time: 15 minutes
Cook Time: 20 minutes
Total Time: 6 hours (including chilling and freezing)
Make-Ahead and Storage Tips
One of the joys of ice cream is that it’s make-ahead friendly. You can prepare the custard base a day before, keep it refrigerated, and churn when ready. Store the ice cream in a sealed container for up to 2 weeks in the freezer. To serve again, let it soften at room temperature for a few minutes.
How to Serve Coffee Ice Cream
This ice cream is a treat on its own, but it pairs beautifully with chocolate cake, biscotti, or even a drizzle of caramel sauce. For a playful touch, serve it affogato-style with a shot of hot espresso poured over the top.
Creative Leftover Transformations
Leftovers? Lucky you. Blend it into a coffee milkshake, sandwich scoops between brownies for ice cream sandwiches, or melt slightly and drizzle over pancakes for a breakfast twist.
Additional Tips
Add a pinch of cinnamon or nutmeg to the custard for a spiced twist. If you like texture, fold in crushed chocolate-covered espresso beans for a delightful crunch.
Make It a Showstopper
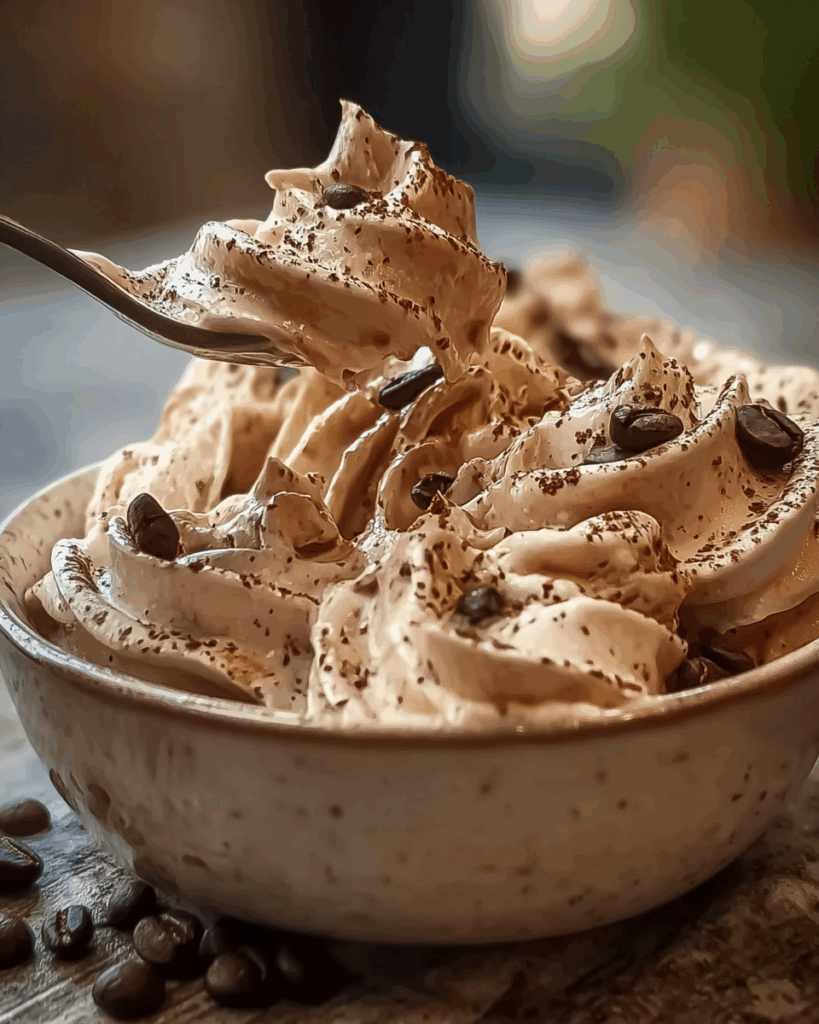
Serve your scoops in elegant glass cups, topped with whipped cream and a sprinkle of cocoa powder. Garnish with a chocolate stick or a few coffee beans for that café-style flair.
Variations to Try
- Coffee and Chocolate Chip Ice Cream with mini chocolate chips folded in.
- Mocha Ice Cream by blending cocoa powder into the custard.
- Caramel Swirl Coffee Ice Cream with ribbons of caramel sauce mixed through.
- Hazelnut Coffee Ice Cream using hazelnut extract for a nutty note.
- Vegan Coffee Ice Cream with coconut milk and cashew cream as the base.
FAQ’s
1. Can I make this without an ice cream maker?
Yes, you can freeze the custard in a container and stir every 30 minutes until firm to break up ice crystals.
2. Can I use instant coffee instead of brewed coffee?
Yes, dissolve 2 tablespoons of instant coffee in hot water for a quick substitute.
3. How strong should the coffee be?
Aim for espresso strength to ensure the flavor shines through.
4. Can I make it dairy-free?
Absolutely, use coconut milk and cream as replacements.
5. How long does homemade ice cream last in the freezer?
About 2 weeks if stored in a tightly sealed container.
6. Can I skip the egg yolks?
Yes, but the texture will be less creamy. You can substitute with cornstarch for thickening.
7. Can I add mix-ins?
Of course, fold in chocolate chips, nuts, or caramel ribbons.
8. Does this recipe work with decaf coffee?
Yes, the flavor will still be delicious without the caffeine.
9. Can I double the recipe?
Yes, just make sure your ice cream maker can handle the larger batch.
10. Why is my ice cream icy instead of creamy?
Most likely the custard wasn’t chilled enough before churning or the fat content was too low.
Conclusion
Coffee ice cream is more than just a dessert, it’s a delightful experience for all your senses. From the rich aroma of freshly brewed coffee to the silky smooth texture of every bite, it’s the perfect blend of comfort and indulgence. Whether you’re serving it at a dinner party or sneaking a scoop late at night, let me tell you, it’s worth every bite.