
There is something deeply comforting about a hot sandwich with bubbling cheese and a creamy, savory filling. Classic Tuna Melts take a humble pantry staple and turn it into something warm, crispy, and completely satisfying. The smell of toasted bread and melted cheddar drifting through the kitchen is enough to make anyone hover near the oven. Trust me, you’re going to love this. It is simple, nostalgic, and incredibly good.
The Sandwich That Never Goes Out of Style
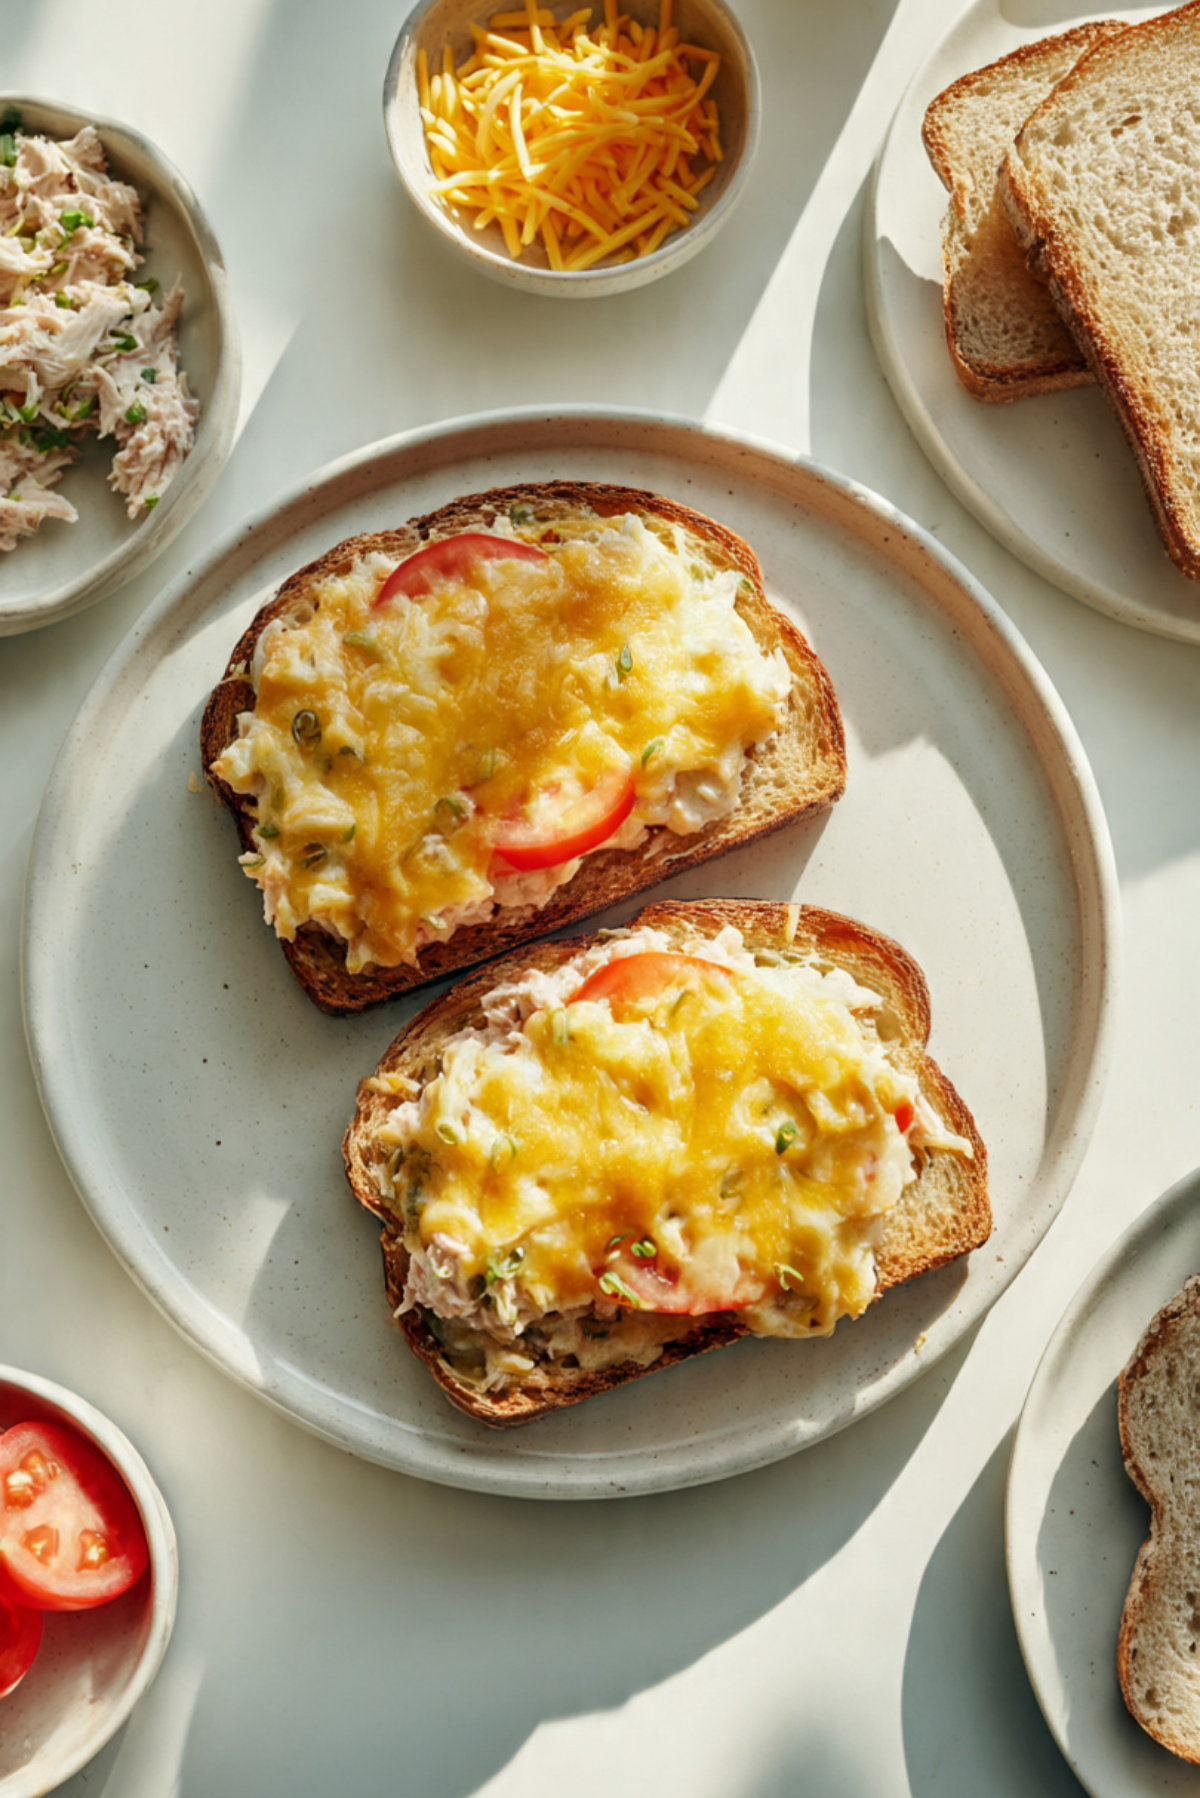
This is the kind of meal that feels like home. Crispy golden bread, creamy tuna salad, juicy tomato slices, and a blanket of melted cheese that pulls ever so slightly when you lift a bite. It hits that perfect balance between crunchy and creamy, rich and fresh.
A Little History Behind This Comfort Classic
Tuna melts became popular in American diners and home kitchens in the mid twentieth century, when canned tuna was affordable and widely available. Pairing tuna salad with cheese and toasting it open faced or pressed turned a simple filling into something indulgent. Over time, it became a lunch counter favorite that still holds up today. Let me tell you, it’s worth every bite.
Why This Sandwich Is Always a Winner
Before we step into the kitchen, here is why this one’s a total game changer.
Versatile: Serve it open faced, closed like a grilled sandwich, or even on an English muffin.
Budget-Friendly: Uses affordable pantry staples like canned tuna and bread.
Quick and Easy: Ready in under 30 minutes from start to finish.
Customizable: Add pickles, herbs, or a dash of mustard.
Crowd-Pleasing: Crispy bread and melted cheese win every time.
Make-Ahead Friendly: Tuna mixture can be prepared in advance.
Great for Leftovers: Extra tuna salad makes excellent wraps or salads.
Pro Tips for the Best Tuna Melt
A few small tweaks can elevate your sandwich.
- Drain the tuna thoroughly to avoid soggy bread.
- Toast the bread lightly before adding the topping for extra crispness.
- Use freshly shredded cheese for better melting.
- Broil at the end for bubbly golden tops.
Tools You Will Need
Keep things simple and efficient.
Mixing Bowl: For combining the tuna salad.
Baking Sheet: To toast and melt the sandwiches evenly.
Spatula: For spreading the tuna mixture smoothly.
Knife: For slicing tomatoes and cutting the sandwich.
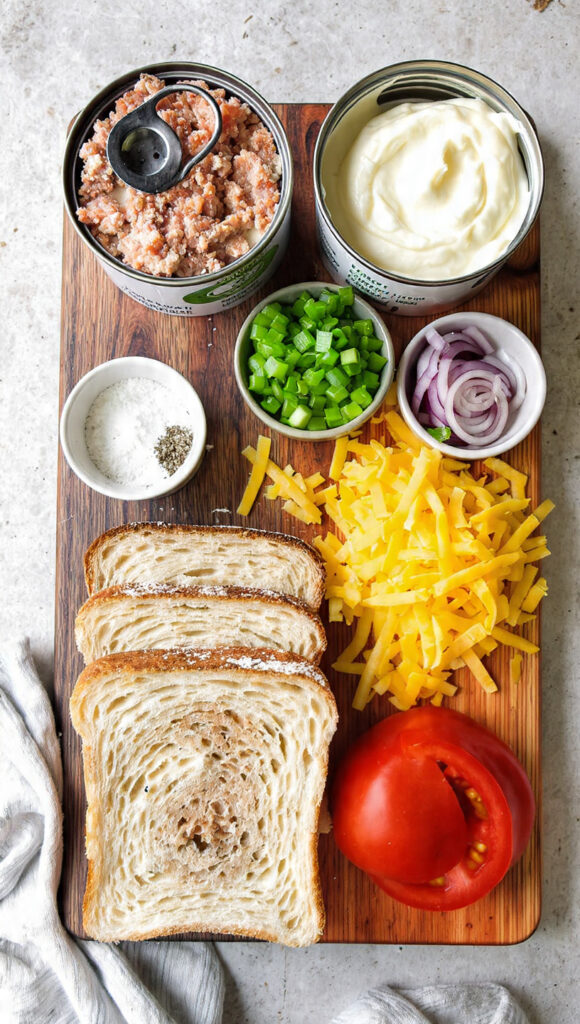
Ingredients You Will Need For This Classic Favorite
Each component works together to create that signature flavor and texture.
- Canned tuna in water: 2 cans, about 160 grams each, drained well, for the main filling.
- Mayonnaise: 1/3 cup, for creaminess.
- Celery: 1/4 cup, finely chopped, for crunch.
- Red onion: 2 tablespoons, finely chopped, for mild sharpness.
- Salt: 1/4 teaspoon, or to taste.
- Black pepper: 1/4 teaspoon, freshly ground.
- Sliced bread: 4 thick slices, sturdy enough to hold topping.
- Cheddar cheese: 1 cup, freshly shredded, for melting.
- Tomato: 1 medium, thinly sliced, for freshness.
Simple Substitutions
Adapt based on what you have.
Mayonnaise: Use Greek yogurt for a lighter option.
Cheddar cheese: Try mozzarella or Swiss for different flavor.
Celery: Substitute with finely chopped pickles for tang.
Red onion: Use shallots for a milder taste.
Ingredient Spotlight
Cheddar Cheese: Its sharp flavor and excellent melting quality create that golden bubbly top that makes this sandwich irresistible.
Let’s Build and Toast
Now let’s dive into the steps and bring everything together.
- Preheat Your Equipment: Preheat your oven to 200 degrees Celsius and line a baking sheet with parchment paper.
- Combine Ingredients: In a mixing bowl, combine drained tuna, mayonnaise, celery, red onion, salt, and black pepper. Mix gently until evenly blended.
- Prepare Your Cooking Vessel: Arrange bread slices on the prepared baking sheet.
- Assemble the Dish: Spread the tuna mixture evenly over each slice of bread. Top with sliced tomato and a generous handful of shredded cheddar.
- Cook to Perfection: Bake for 8 to 10 minutes until cheese is melted. Switch to broil for 1 to 2 minutes until cheese is bubbly and lightly golden.
- Finishing Touches: Remove from oven and let cool slightly so the cheese sets just enough.
- Serve and Enjoy: Slice if desired and serve immediately while hot and melty.
Texture and Flavor at Their Best
The bread crisps along the edges while staying sturdy underneath. The tuna mixture remains creamy with little pops of crunch from celery. The melted cheese forms a rich, slightly stretchy layer that ties everything together.
Helpful Tips for Perfect Results
- Lightly toast bread first to prevent sogginess.
- Use thick cut bread for better structure.
- Serve immediately for best texture.
What to Avoid
- Overloading with mayonnaise can make the filling too wet.
- Skipping the broil step can result in less bubbly cheese.
- Using very soft bread may cause the sandwich to collapse.
Nutrition Overview
Servings: 4 open faced melts
Calories per serving: 420
Note: These are approximate values.
Time Needed
Prep Time: 15 minutes
Cook Time: 10 minutes
Total Time: 25 minutes
Make Ahead and Storage Tips
Prepare the tuna mixture up to 2 days ahead and store in the refrigerator. Assemble and bake just before serving. Leftover assembled melts are best eaten fresh, but the filling can be reused in wraps or salads.
Serving Suggestions
Serve with a crisp green salad, roasted potatoes, or a bowl of tomato soup for a comforting meal.
Creative Leftover Ideas
Use leftover tuna mixture in a stuffed avocado. Spread onto crackers for a quick snack. Toss into pasta for an easy cold salad.
Extra Flavor Boosters
Add a squeeze of lemon juice to the tuna mixture. Sprinkle dried oregano over the cheese before baking. Add a thin layer of Dijon mustard on the bread for depth.
Make It Look Diner Worthy
Broil until the cheese has golden spots. Garnish with a sprinkle of chopped parsley. Serve on a warm plate for that fresh from the kitchen feel.
Variations to Try
Add sliced pickles for tang. Mix in chopped fresh herbs. Use whole grain bread for nuttier flavor. Add a pinch of chili flakes for gentle heat.
FAQ’s
Q1: Can I make this in a skillet?
Yes, cook covered on low heat until cheese melts.
Q2: Can I use tuna in oil?
Yes, just drain it well.
Q3: Can I make it dairy free?
Use dairy free cheese and yogurt alternative.
Q4: Can I prepare it ahead?
Prepare filling in advance and assemble before baking.
Q5: What bread works best?
Thick sliced sandwich bread or sourdough.
Q6: Can I add more vegetables?
Yes, finely chopped bell peppers work well.
Q7: How do I keep it from getting soggy?
Toast bread lightly before adding tuna mixture.
Q8: Can I freeze it?
Freezing is not recommended after assembling.
Q9: Is it kid friendly?
Absolutely, it is a classic favorite.
Q10: Can I make mini versions?
Yes, use smaller bread slices or English muffins.
Conclusion
Classic Tuna Melts are proof that simple ingredients can create something truly comforting. Crispy bread, creamy tuna, and bubbling cheese come together in a way that feels timeless and satisfying. Make them once and you will come back to them again and again.
Print
Classic Tuna Melts
- Prep Time: 15 minutes
- Cook Time: 10 minutes
- Total Time: 25 minutes
- Yield: 4 open faced melts
- Category: Lunch
- Method: Baking
- Cuisine: American
- Diet: Low Lactose
Description
A comforting open faced sandwich with creamy tuna salad and bubbly melted cheddar on crisp toasted bread.
Ingredients
- 2 cans tuna in water, about 160 grams each, drained well
- 1/3 cup mayonnaise
- 1/4 cup celery, finely chopped
- 2 tablespoons red onion, finely chopped
- 1/4 teaspoon salt
- 1/4 teaspoon black pepper
- 4 thick slices bread
- 1 cup cheddar cheese, freshly shredded
- 1 medium tomato, thinly sliced
Instructions
- Preheat oven to 200 degrees Celsius and line a baking sheet.
- Mix tuna, mayonnaise, celery, red onion, salt, and black pepper in a bowl.
- Arrange bread slices on baking sheet.
- Spread tuna mixture over bread, top with tomato slices and shredded cheddar.
- Bake 8 to 10 minutes until cheese melts.
- Broil 1 to 2 minutes until bubbly and lightly golden.
- Cool slightly and serve warm.
Notes
- Toast bread lightly before topping for extra crispness.
- Drain tuna thoroughly to prevent sogginess.
- Serve immediately for best texture.
Nutrition
- Serving Size: 1 open faced melt
- Calories: 420
- Sugar: 4g
- Sodium: 650mg
- Fat: 24g
- Saturated Fat: 8g
- Unsaturated Fat: 14g
- Trans Fat: 0g
- Carbohydrates: 28g
- Fiber: 2g
- Protein: 25g
- Cholesterol: 55mg