
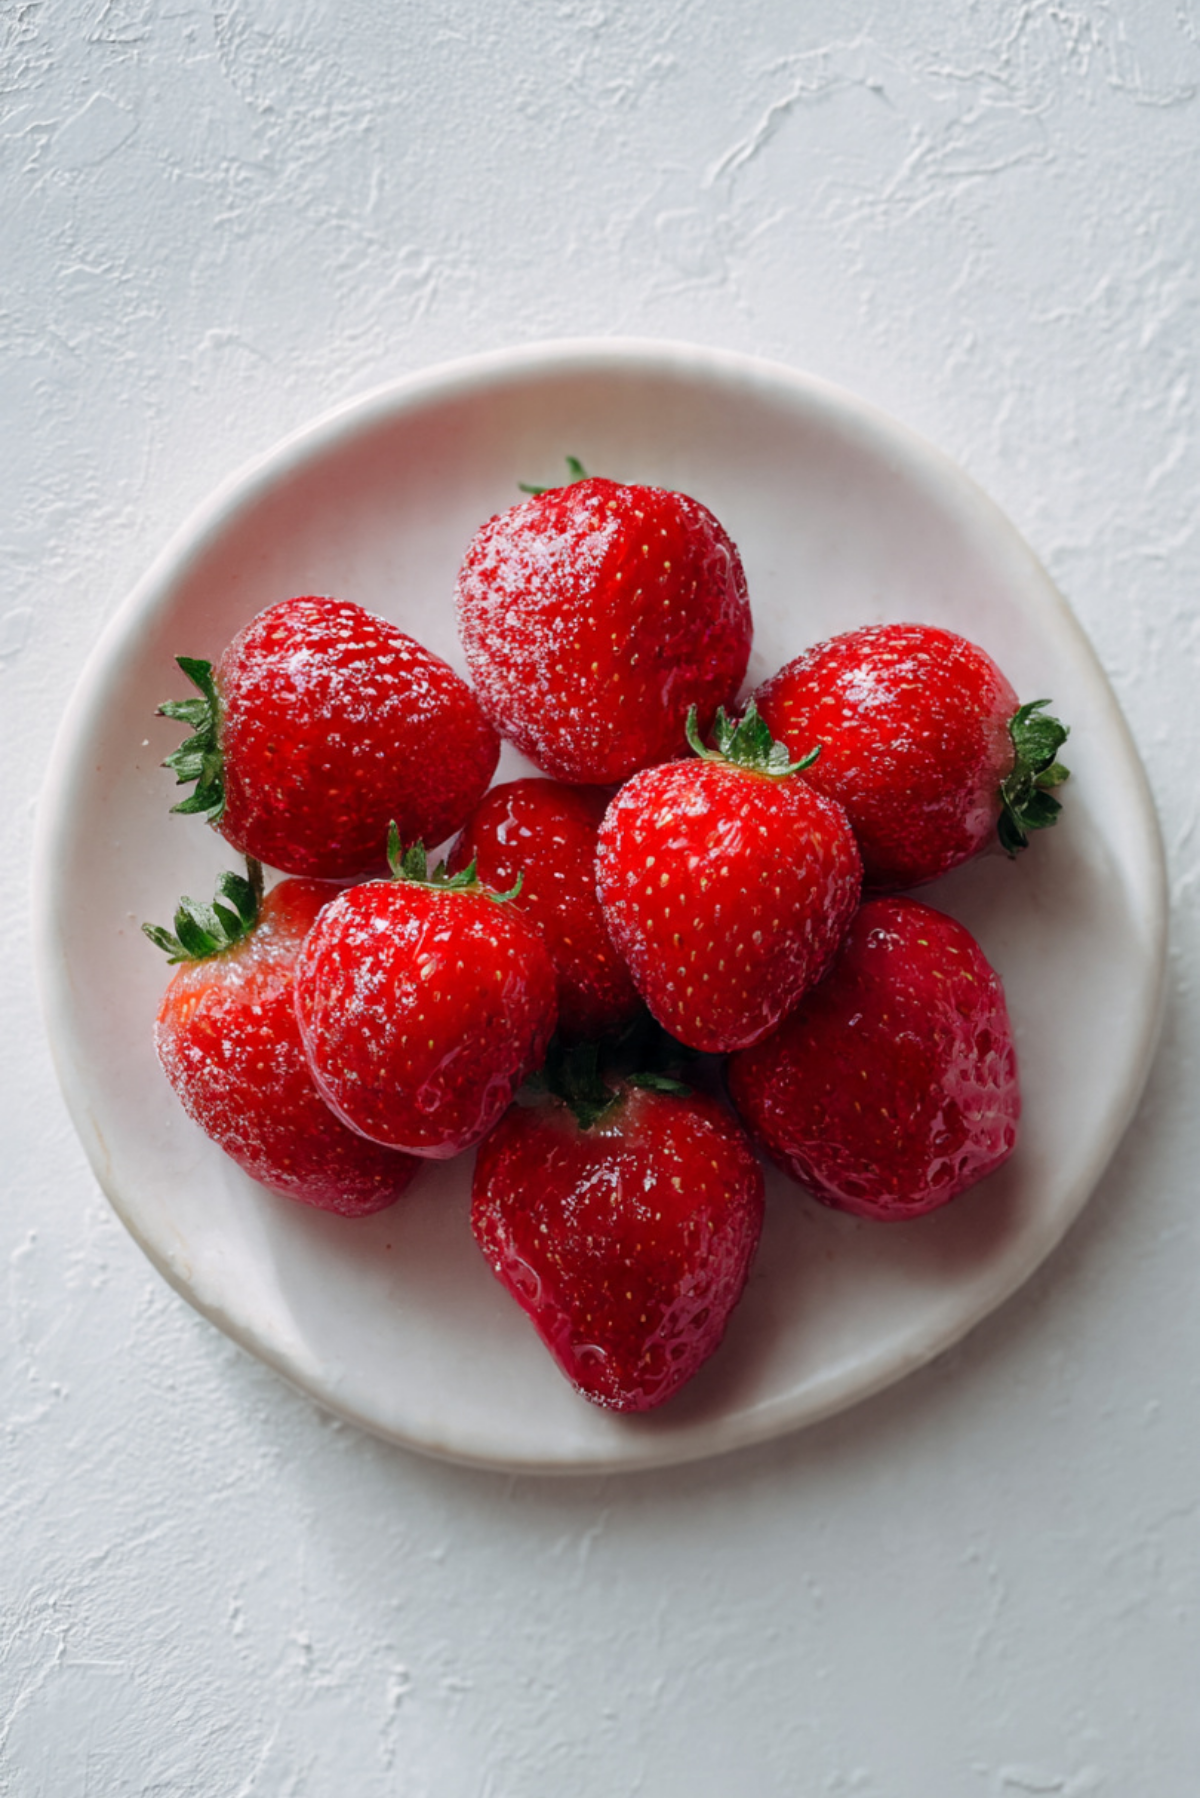
The first time you see candied strawberries, they almost look too pretty to eat. Shiny, glassy, and glowing red, they catch the light like little jewels on a plate. But once you hear that gentle crack as your teeth break through the sugar shell and hit the juicy strawberry underneath, you know this treat is more than just a pretty face. Trust me, you’re going to love this. It is simple, nostalgic, and wildly satisfying.
Behind the Recipe
Candied strawberries always remind me of street markets and festive afternoons, where sweet smells float through the air and treats are made right in front of you. There is something magical about taking a humble strawberry and turning it into a glossy candy coated delight with just sugar and heat. It feels playful, a little dramatic, and very rewarding for how easy it is to make.
Recipe Origin or Trivia
Candied fruit has a long history across many cultures, from Asian street snacks to European sugar work traditions. Strawberries dipped in hardened sugar are especially popular as festival treats, often served on sticks and enjoyed fresh. The technique is simple but rooted in classic candy making, where timing and temperature create that signature crackly shell.
Why You’ll Love Candied Strawberries
Once you understand how effortless and fun these are, they quickly become a favorite.
Versatile: They work as a dessert, a party snack, or a stunning garnish for cakes and platters.
Budget-Friendly: With just strawberries and sugar, this recipe keeps things simple and affordable.
Quick and Easy: From start to finish, you are looking at less than twenty minutes.
Customizable: You can switch fruits, add flavors, or play with presentation.
Crowd-Pleasing: The shiny finish and satisfying crunch make everyone smile.
Make-Ahead Friendly: They can be prepared shortly before serving and hold their crunch for hours.
Great for Leftovers: Any extras make a fun topping for desserts or sweet boards.
Chef’s Pro Tips for Perfect Results
Before we move into the details, let me share a few insider tricks that make all the difference. Dry your strawberries completely before dipping, because moisture can ruin the sugar shell. Work quickly once the sugar is ready, since it hardens fast. And always keep your heat steady, patience here pays off.
Kitchen Tools You’ll Need
Having the right tools nearby makes the process smooth and stress free.
Saucepan: Used to melt and heat the sugar evenly.
Wooden Spoon: Helps stir the sugar as it dissolves.
Candy Thermometer: Optional but helpful for precise results.
Parchment Paper: Prevents sticking while the strawberries cool.
Skewers or Tongs: Makes dipping safer and cleaner.
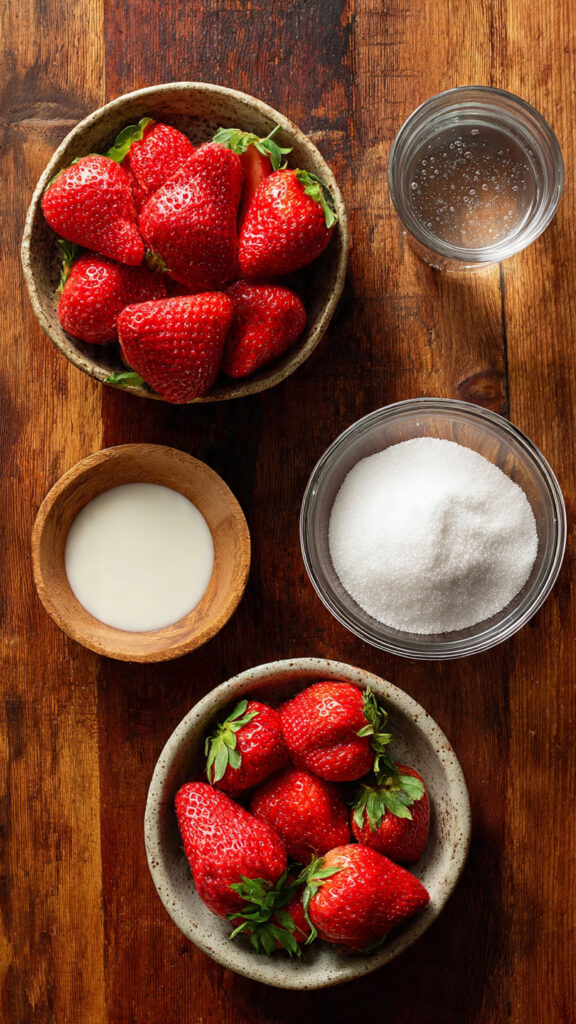
Ingredients in Candied Strawberries
This recipe shines because every ingredient has a clear purpose and nothing feels extra.
Strawberries: 1 pound, fresh, ripe, and firm, these provide sweetness and juiciness.
Granulated Sugar: 2 cups, this melts into the glossy candy shell.
Water: 1 cup, helps dissolve the sugar evenly before it heats.
Ingredient Substitutions
If you want to experiment a little, here are easy swaps.
Strawberries: Grapes, pineapple chunks, or apple slices.
Granulated Sugar: Organic cane sugar for a slightly deeper flavor.
Ingredient Spotlight
Strawberries: Naturally sweet and slightly tart, they balance the hard candy shell beautifully.
Granulated Sugar: The star of the coating, transforming from crystals into a crisp, clear glaze.
Instructions for Making Candied Strawberries
Now let’s dive into the fun part, making these glossy beauties step by step.
- Preheat Your Equipment: Line a baking sheet with parchment paper and set it aside near your stove.
- Combine Ingredients: Add the sugar and water to a saucepan and stir gently until the sugar is moistened.
- Prepare Your Cooking Vessel: Place the saucepan over medium heat and allow the mixture to come to a boil without stirring.
- Assemble the Dish: Wash and thoroughly dry the strawberries, then insert skewers if using.
- Cook to Perfection: Let the sugar mixture boil until it reaches a light golden color, about 300°F.
- Finishing Touches: Carefully dip each strawberry into the hot sugar, coating evenly, then place on parchment.
- Serve and Enjoy: Allow the candy shell to harden for a few minutes before serving.
Texture & Flavor Secrets
The magic of candied strawberries lies in contrast. The sugar shell hardens into a crisp snap, while the strawberry inside stays juicy and bright. As the sugar cools, it locks in that shine and creates a delicate crackle that melts quickly on your tongue.
Cooking Tips & Tricks
To keep things smooth and stress free, remember these tips.
- Work in small batches to avoid rushed dipping.
- Keep the heat steady to prevent burning.
- Use parchment paper to ensure easy release.
What to Avoid
Even simple recipes have a few common pitfalls.
- Do not dip wet strawberries, moisture prevents proper hardening.
- Avoid stirring once the sugar boils, which can cause crystallization.
- Do not let the sugar turn too dark, it will taste bitter.
Nutrition Facts
Servings: 6
Calories per serving: 180
Note: These are approximate values.
Preparation Time
Prep Time: 10 minutes
Cook Time: 10 minutes
Total Time: 20 minutes
Make-Ahead and Storage Tips
Candied strawberries are best enjoyed the same day, but they can be made a few hours ahead. Store them uncovered at room temperature to maintain the crunch. Refrigeration adds moisture and softens the shell, so it is best avoided.
How to Serve Candied Strawberries
Serve them on a dessert platter, stand them upright in a glass for a party display, or use them to decorate cakes and cupcakes. They also pair beautifully with chocolate desserts or whipped cream.
Creative Leftover Transformations
Chop leftover candied strawberries and sprinkle them over ice cream. You can also use them as a topping for pancakes or waffles for a fun weekend twist.
Additional Tips
For extra flavor, you can add a drop of vanilla to the sugar mixture. Always work carefully with hot sugar, safety first.
Make It a Showstopper
Arrange the strawberries on a white plate or tiered stand to let their shine take center stage. A simple presentation makes them look even more elegant.
Variations to Try
Try candied grapes for a bite sized option. Use pineapple chunks for a tropical twist. Add food coloring for themed events. Mix in citrus zest for subtle flavor.
FAQ’s
1. Can I make candied strawberries without a thermometer?
Yes, watch for a light golden color and thick bubbling.
2. Why is my sugar cloudy?
Stirring during boiling can cause crystallization.
3. How long do they stay crunchy?
They stay crisp for several hours at room temperature.
4. Can I refrigerate them?
It is not recommended due to moisture.
5. Are they safe for kids?
Yes, but supervise due to hard candy texture.
6. Can I reuse leftover sugar syrup?
No, it hardens quickly and is best made fresh.
7. Do I need skewers?
They are optional but helpful.
8. Can I use frozen strawberries?
Fresh is best, frozen releases too much moisture.
9. Why did my sugar burn?
The heat was too high or left unattended.
10. Can I flavor the sugar?
Yes, extracts or zest work well.
Conclusion
Candied strawberries are proof that simple ingredients can create something truly special. With their glossy shine, crisp crack, and juicy center, they feel festive and fun every single time. Let me tell you, it’s worth every bite, and once you try them, you will want to make them again and again.
Print
Candied Strawberries
- Prep Time: 10 minutes
- Cook Time: 10 minutes
- Total Time: 20 minutes
- Yield: 6 servings
- Category: Dessert
- Method: Candying
- Cuisine: International
- Diet: Vegetarian
Description
Crunchy on the outside, juicy on the inside, these candied strawberries are a glossy sweet treat made with just a few simple ingredients and finished in minutes.
Ingredients
- 1 pound fresh strawberries
- 2 cups granulated sugar
- 1 cup water
Instructions
- Wash the strawberries thoroughly and dry them completely. Line a baking sheet with parchment paper.
- In a saucepan, combine the granulated sugar and water and stir gently until the sugar is moistened.
- Place the saucepan over medium heat and allow the mixture to come to a boil without stirring.
- Continue boiling until the sugar reaches about 300°F and turns a light golden color.
- Carefully dip each strawberry into the hot sugar syrup, coating it evenly.
- Place the coated strawberries on the prepared parchment paper.
- Allow the sugar coating to harden for several minutes before serving.
Notes
- Make sure the strawberries are completely dry before dipping.
- Work quickly once the sugar is ready, as it hardens fast.
- Store at room temperature and avoid refrigeration.
Nutrition
- Serving Size: 1 serving
- Calories: 180
- Sugar: 35g
- Sodium: 5mg
- Fat: 0g
- Saturated Fat: 0g
- Unsaturated Fat: 0g
- Trans Fat: 0g
- Carbohydrates: 46g
- Fiber: 2g
- Protein: 1g
- Cholesterol: 0mg
… [Trackback]
[…] Find More on to that Topic: cookingflash.com/candied-strawberries/ […]
… [Trackback]
[…] There you can find 29682 more Information on that Topic: cookingflash.com/candied-strawberries/ […]